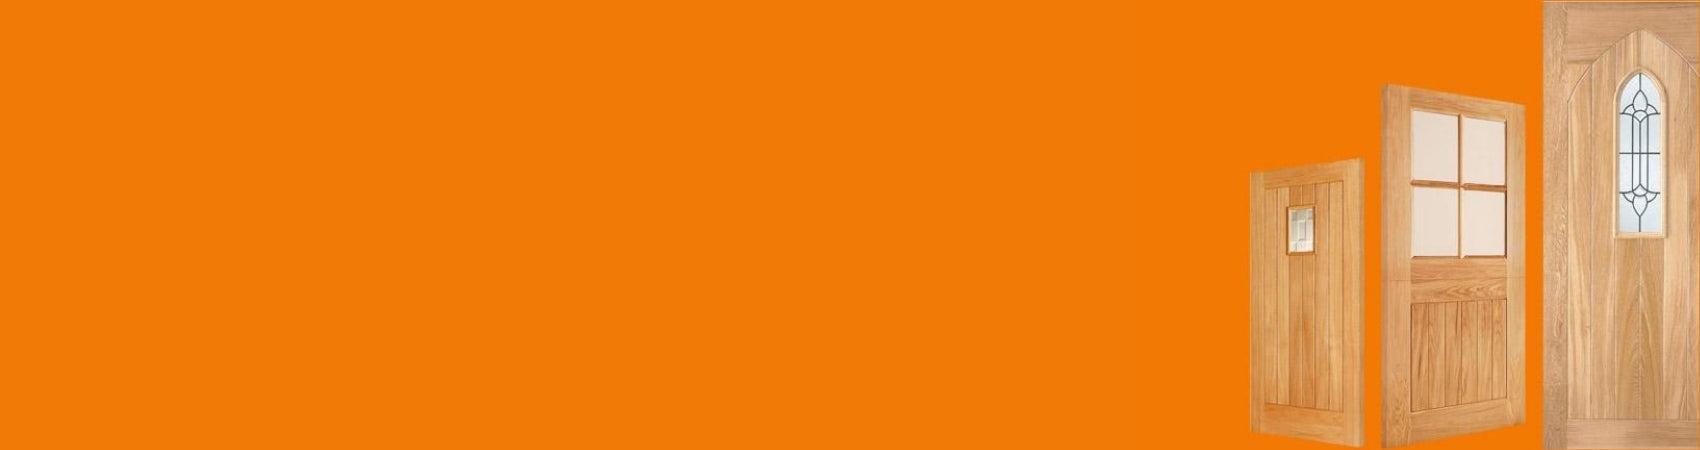
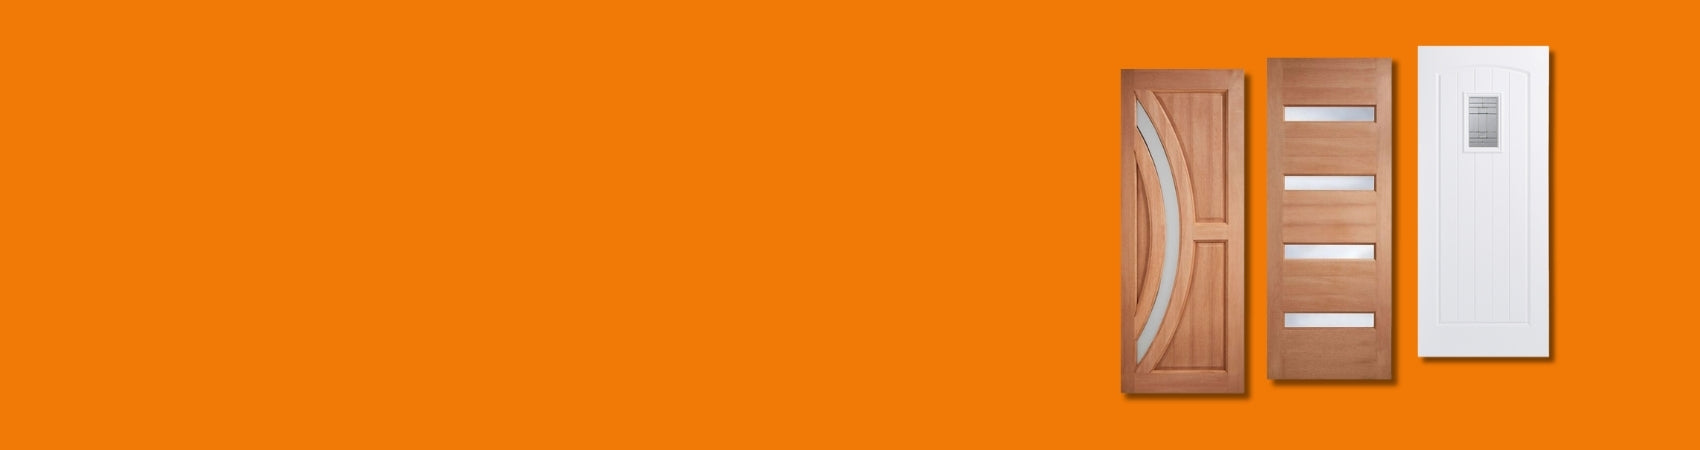
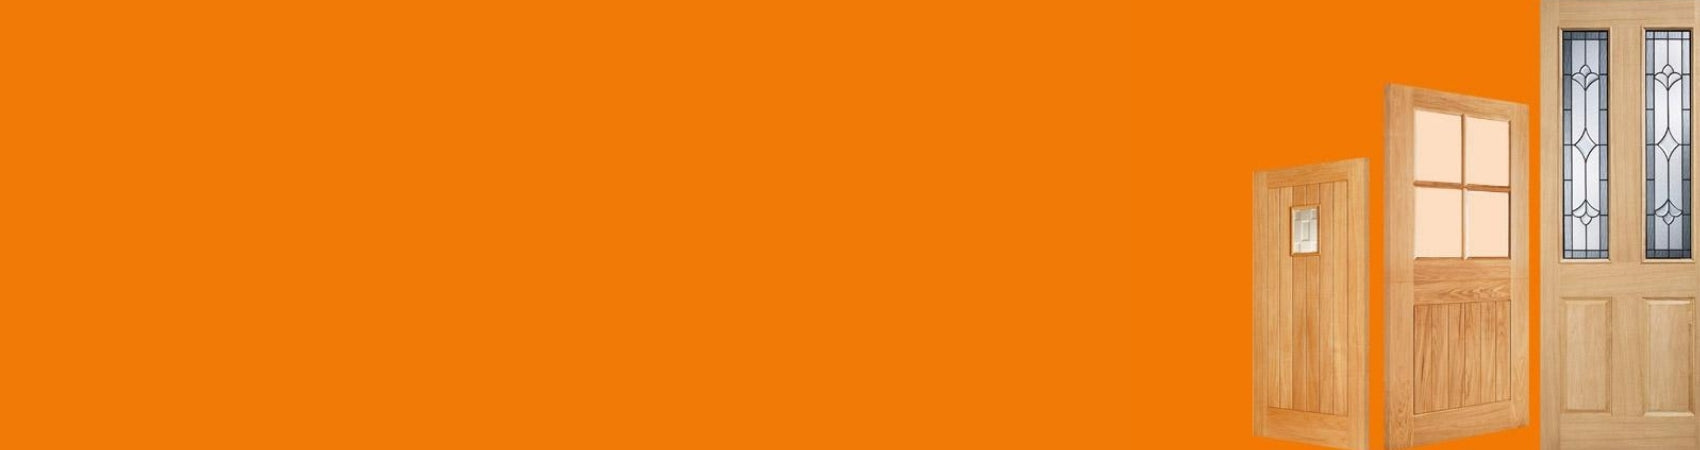

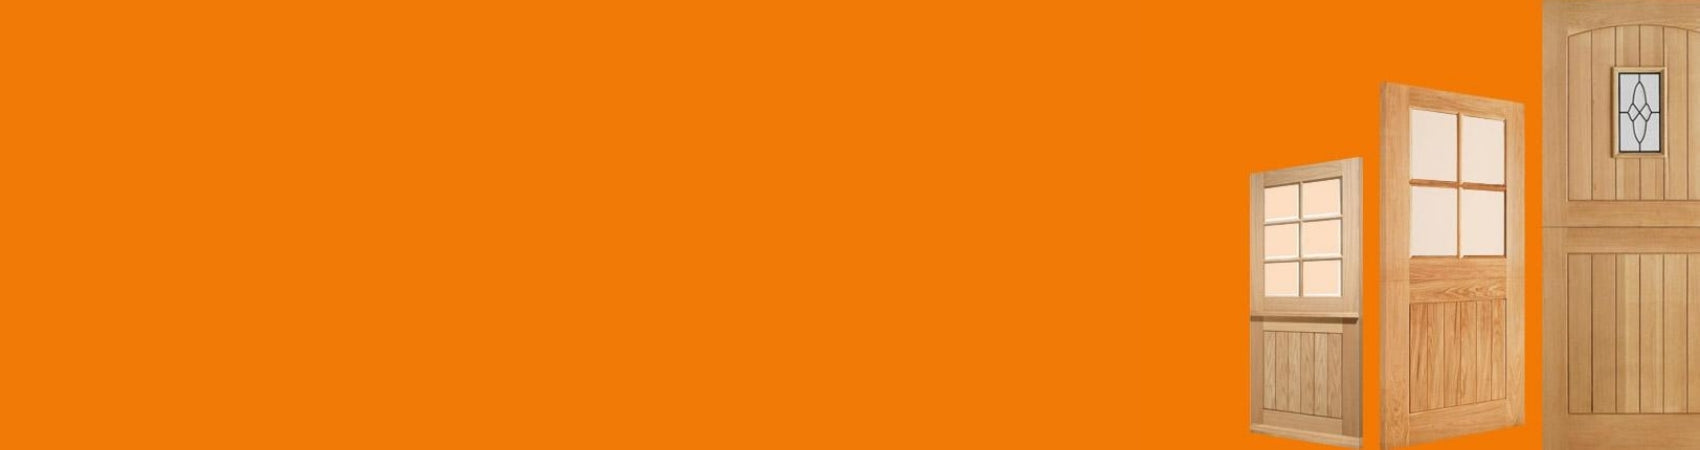

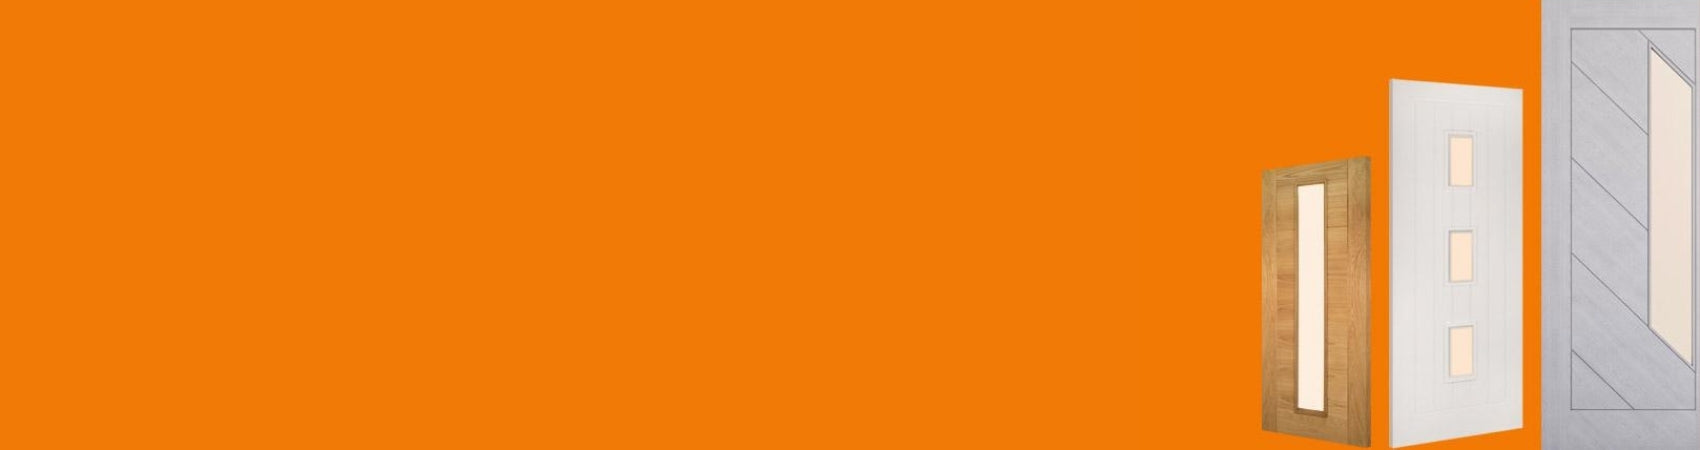

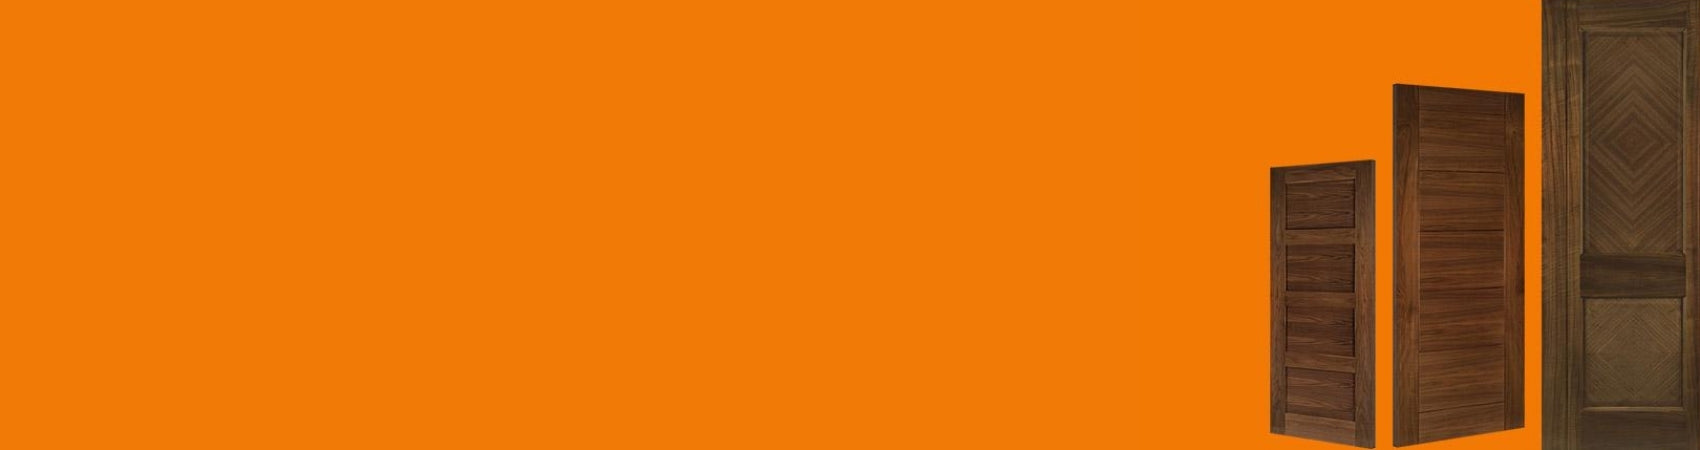


Introducing a helpful guide to door architrave for those who do not know where to start. We know that there are many finishing touches you can implement around the home, some of which you will need a little bit of help with. This article features everything you need to know about door architrave, from the materials that it is made from, to the many different profiles, to the fitting of it. No matter what style interior you have, whether it be traditional, contemporary, or modern – there is an architrave style for your needs, and budget.
Please note: If you purchase architrave that is unfinished, then it will need treating prior to fitting to ensure it is thoroughly treated. If your architrave is pre-finished however, then you will not need to do this before fitting it.
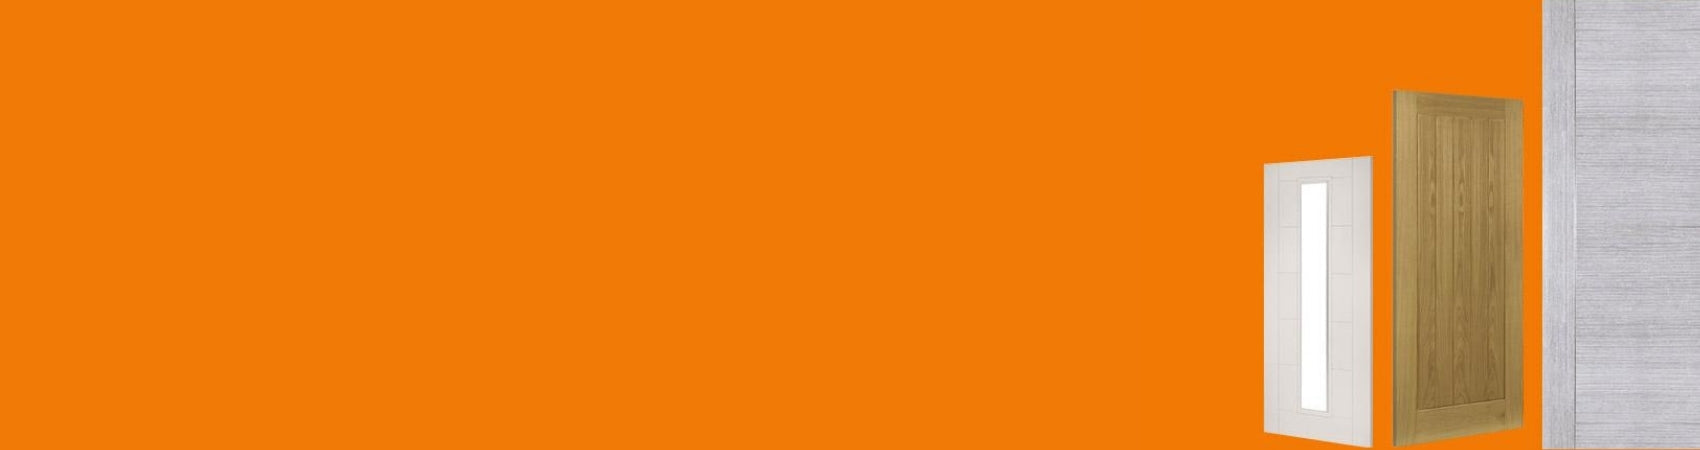
What Is Door Architrave?
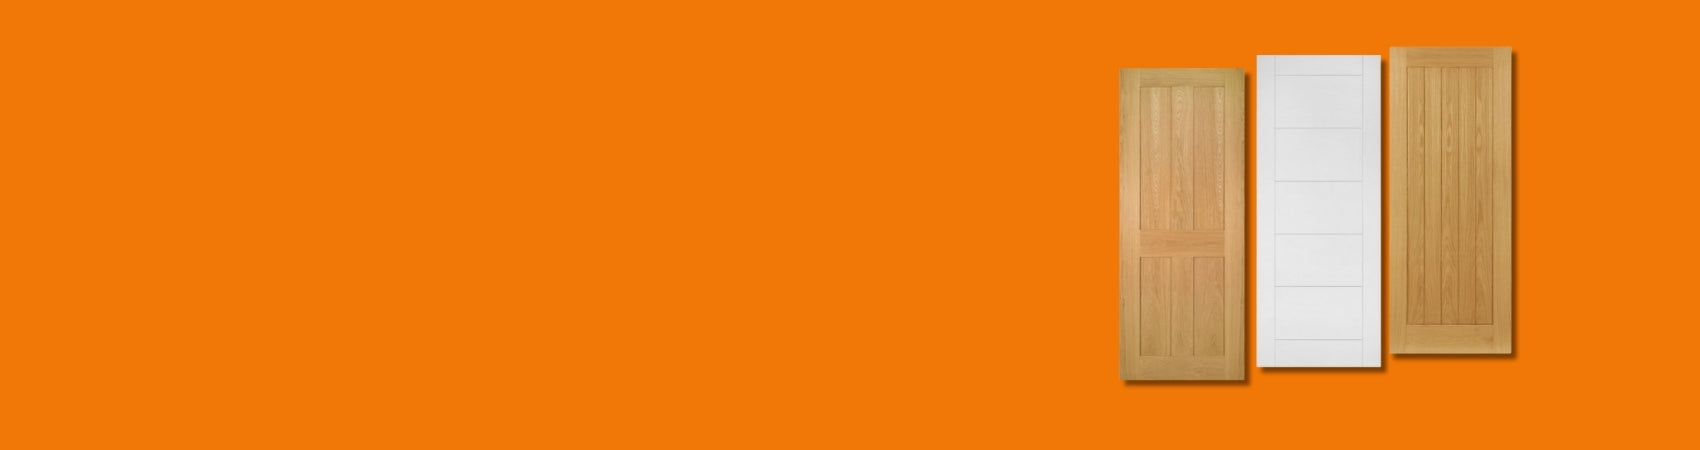
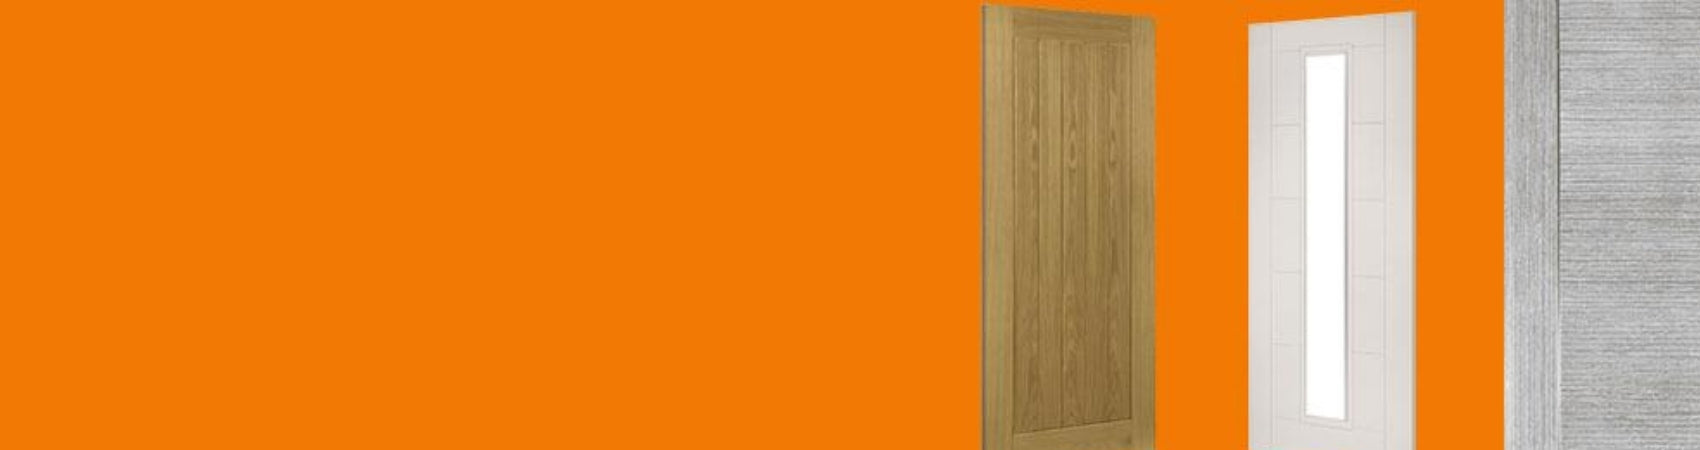
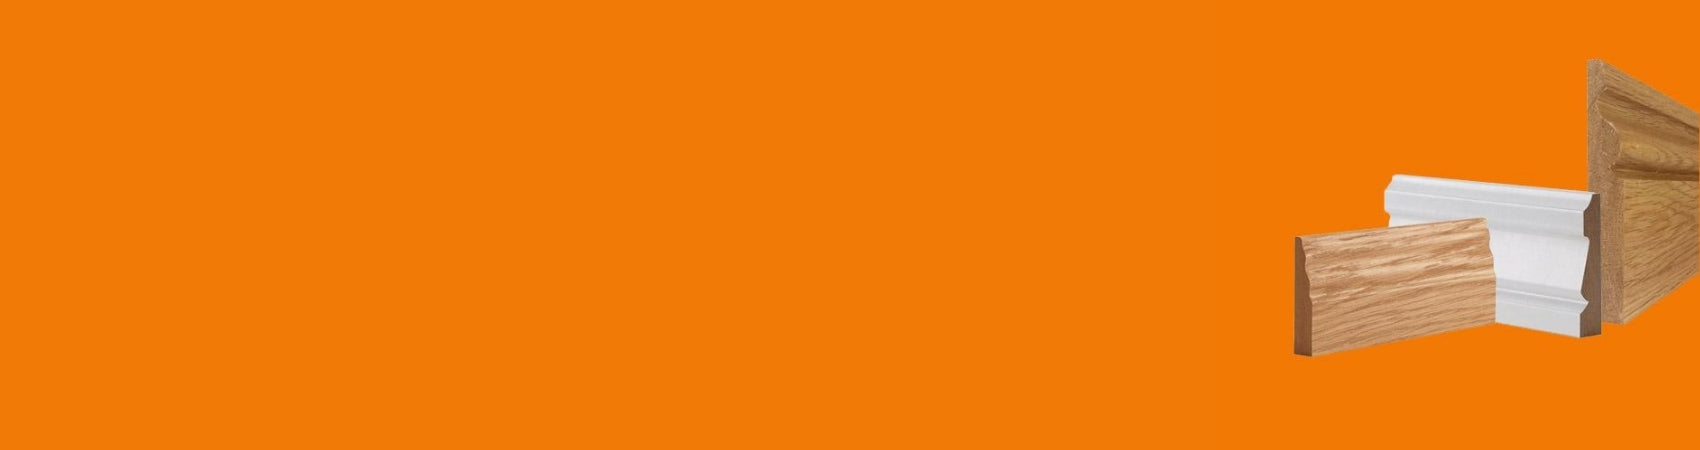
Door architrave is a decorative mouldering that is used to further enhance the appearance of your door frame. They are able to conceal the join between the wall and the frame of the door. This is fitted as a finishing touch around your home, to give your interior a much fuller look. It’s known to date back to classical Greek architecture, but it was the Tudor’s who developed architrave in a way that we see today. Many homeowners also choose to continue this look throughout the home with the use of skirting boards.
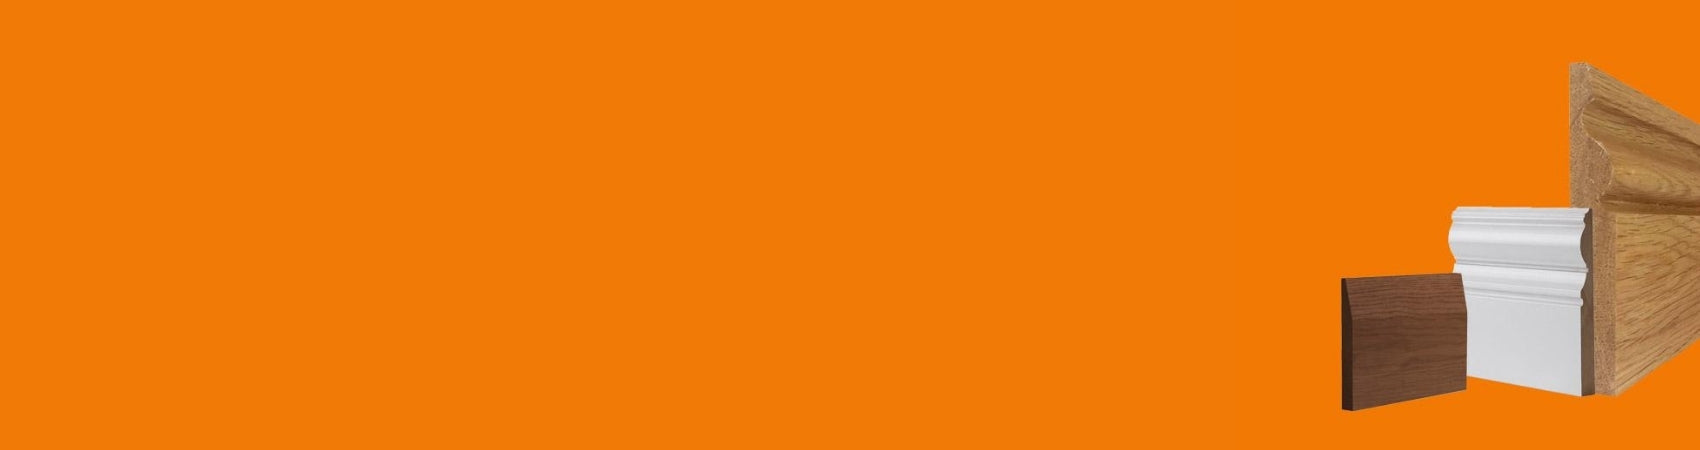
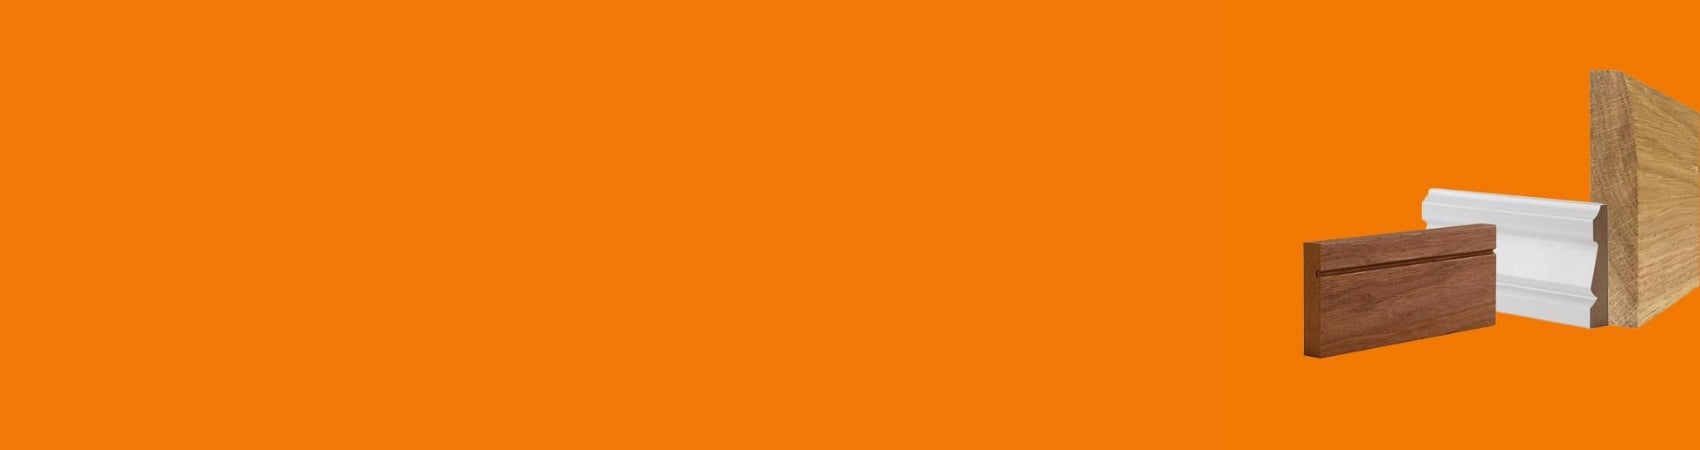
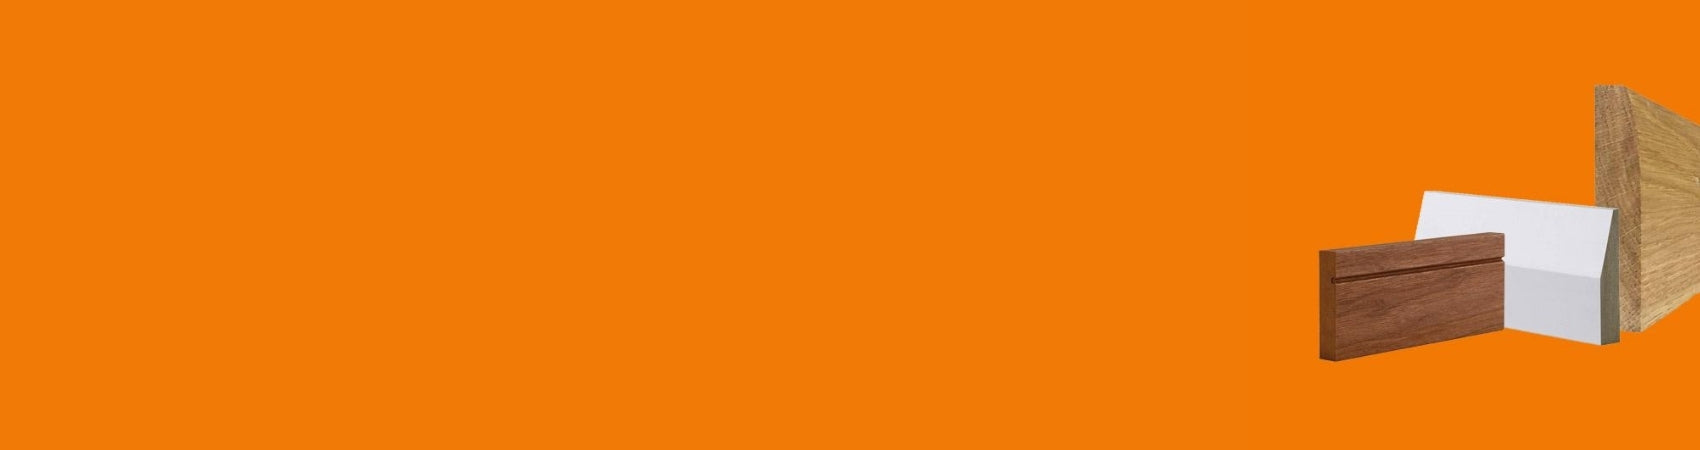
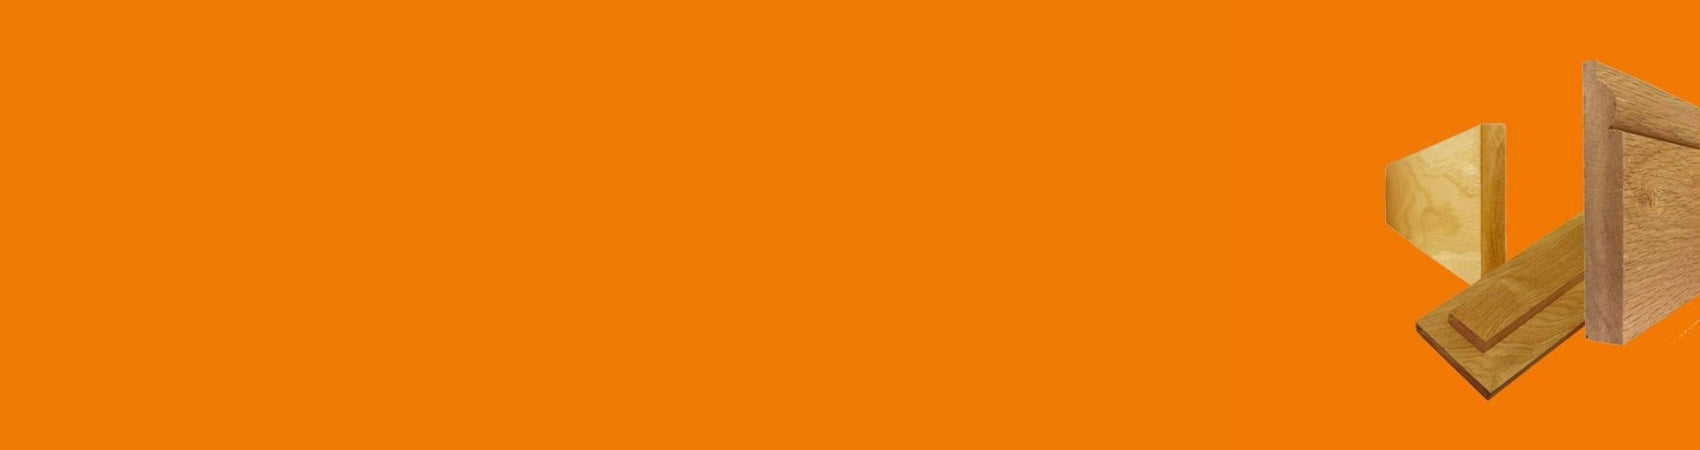
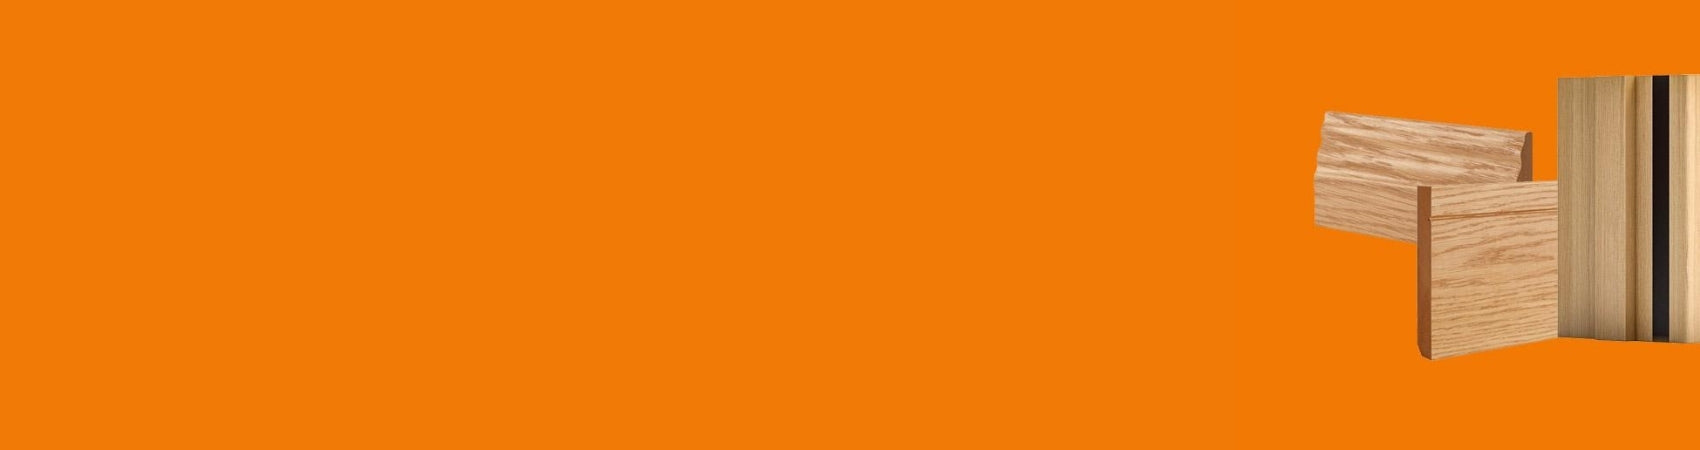
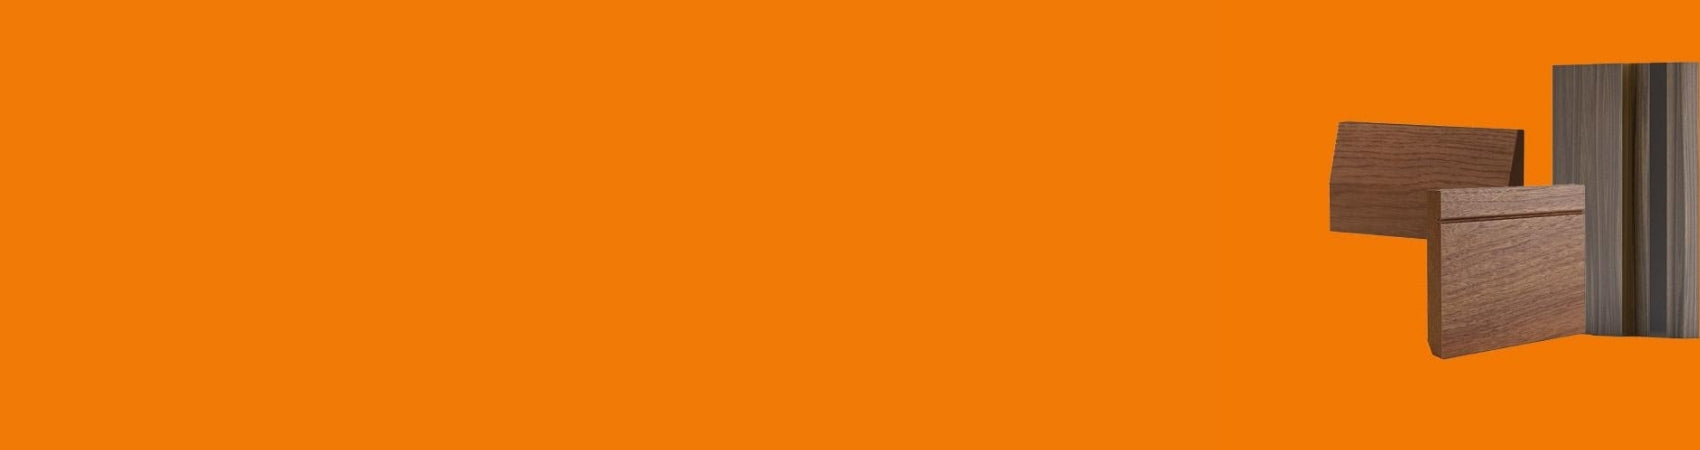
What Is Architrave Made From?
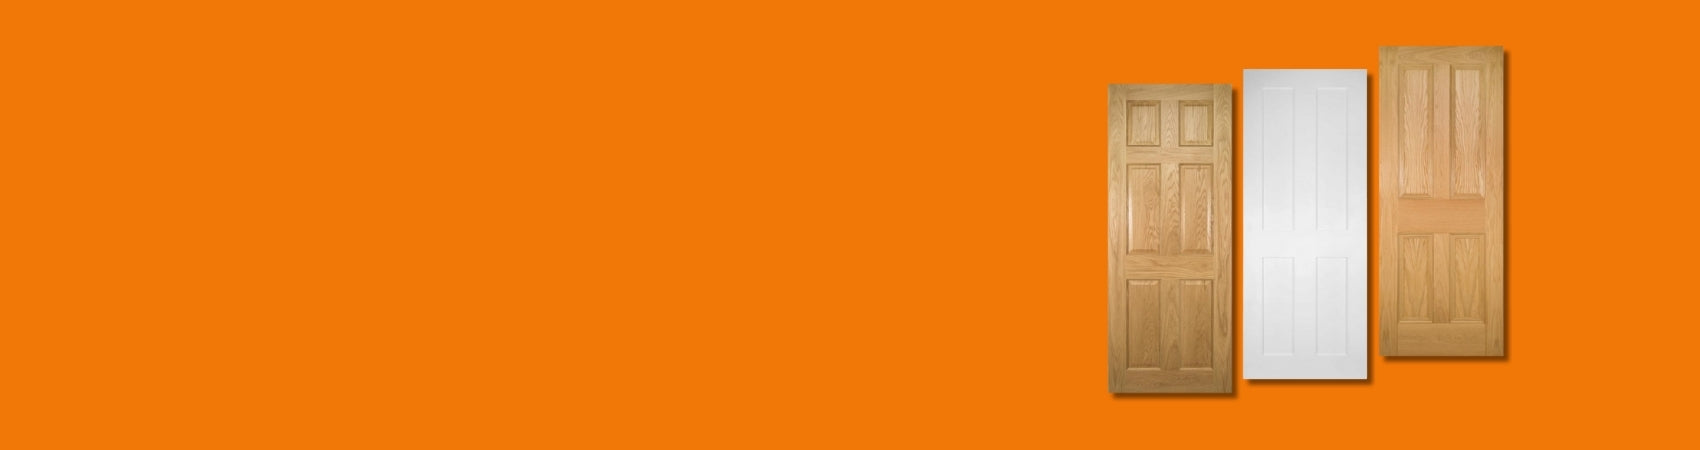
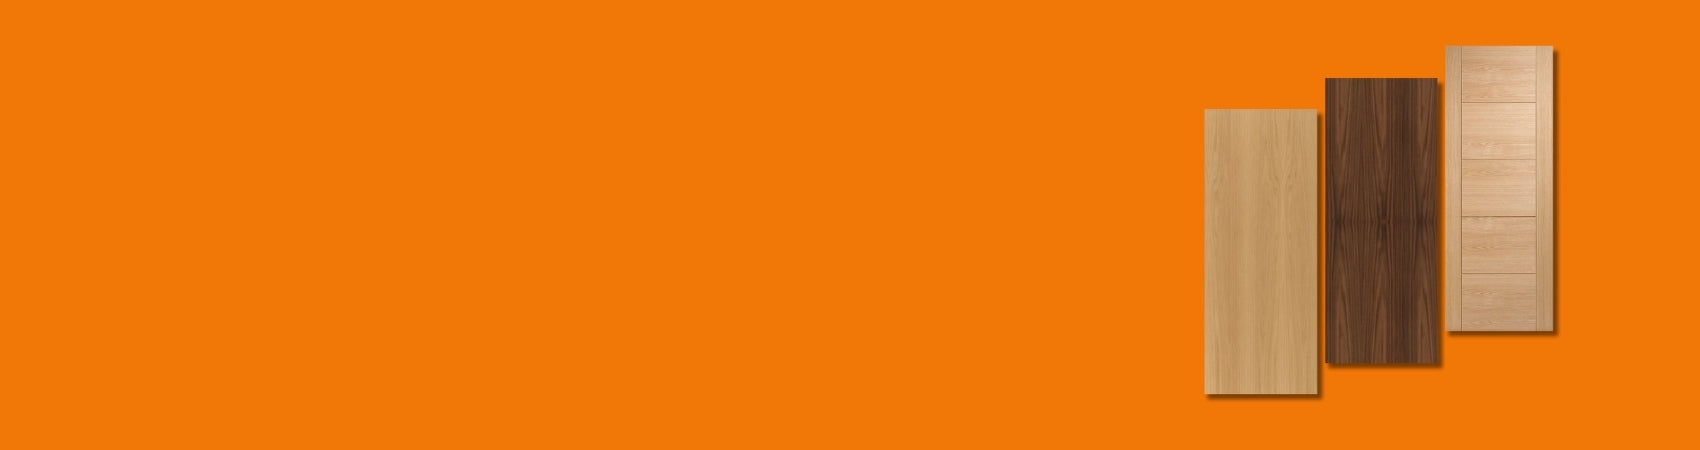
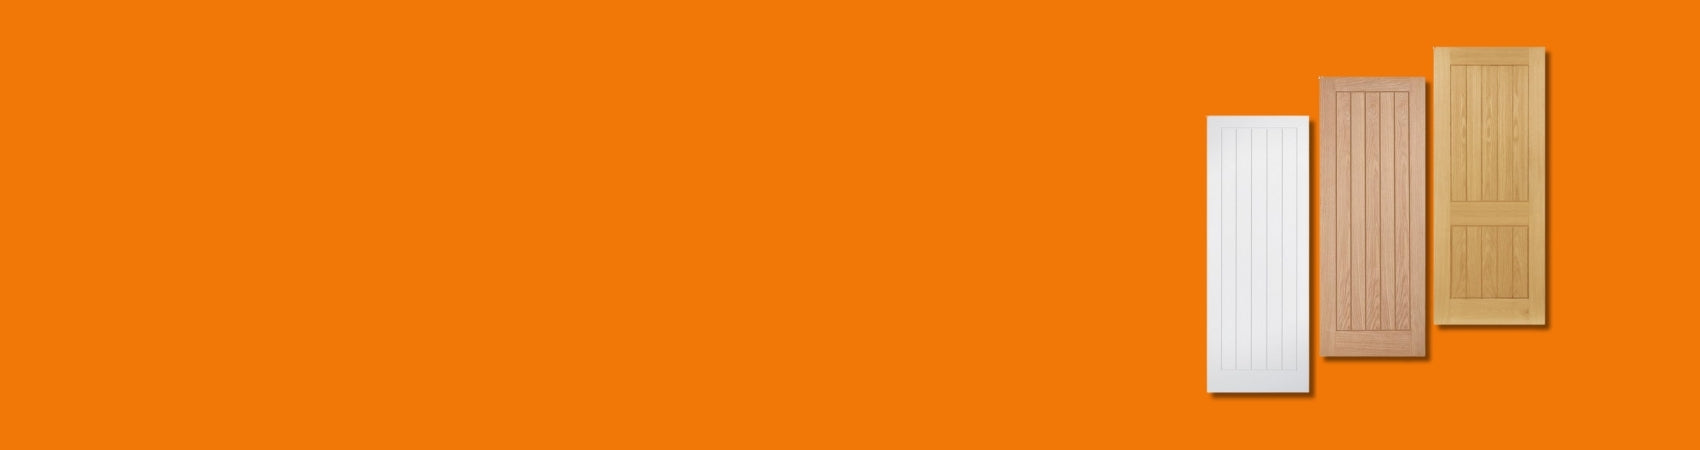
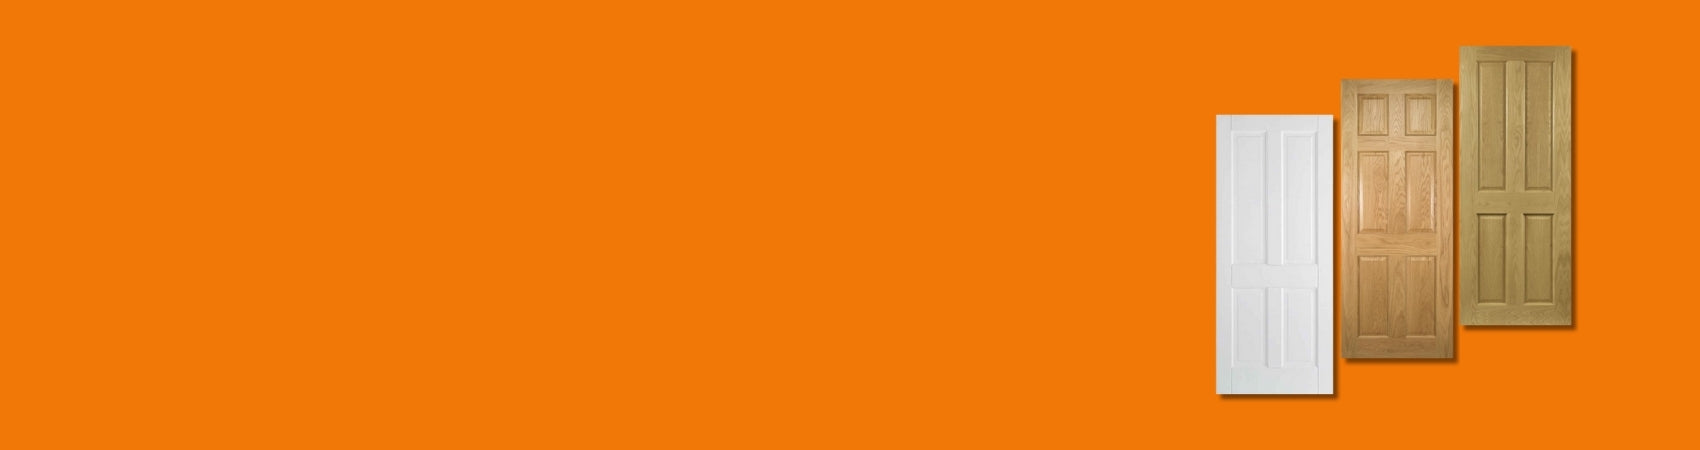
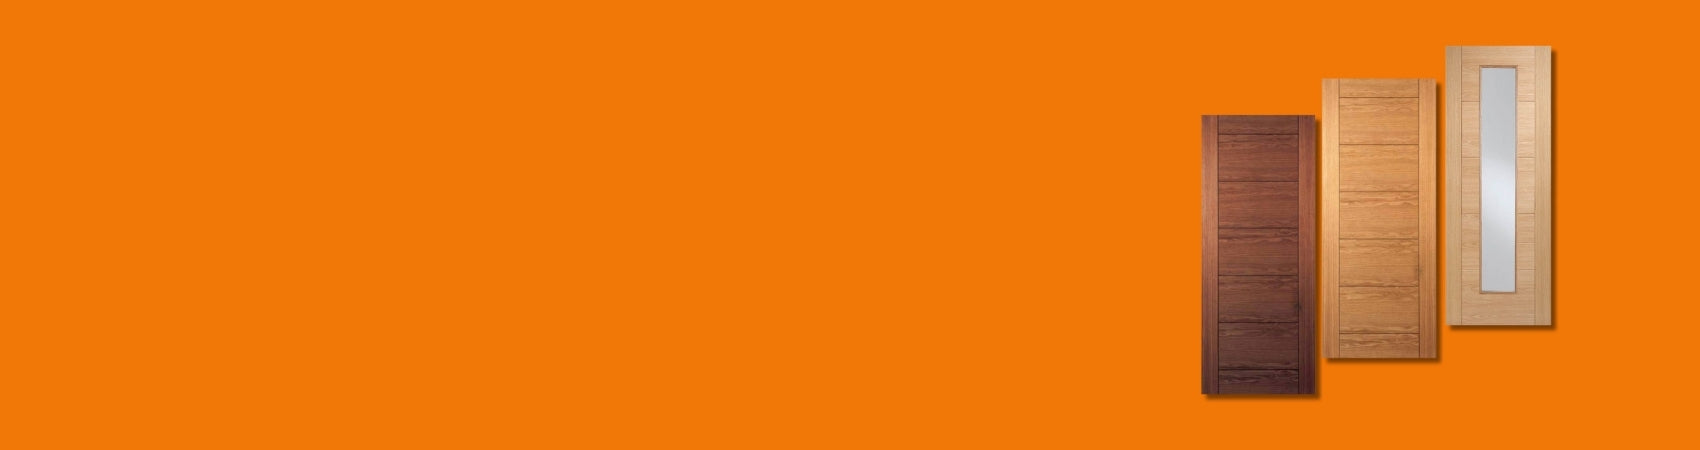
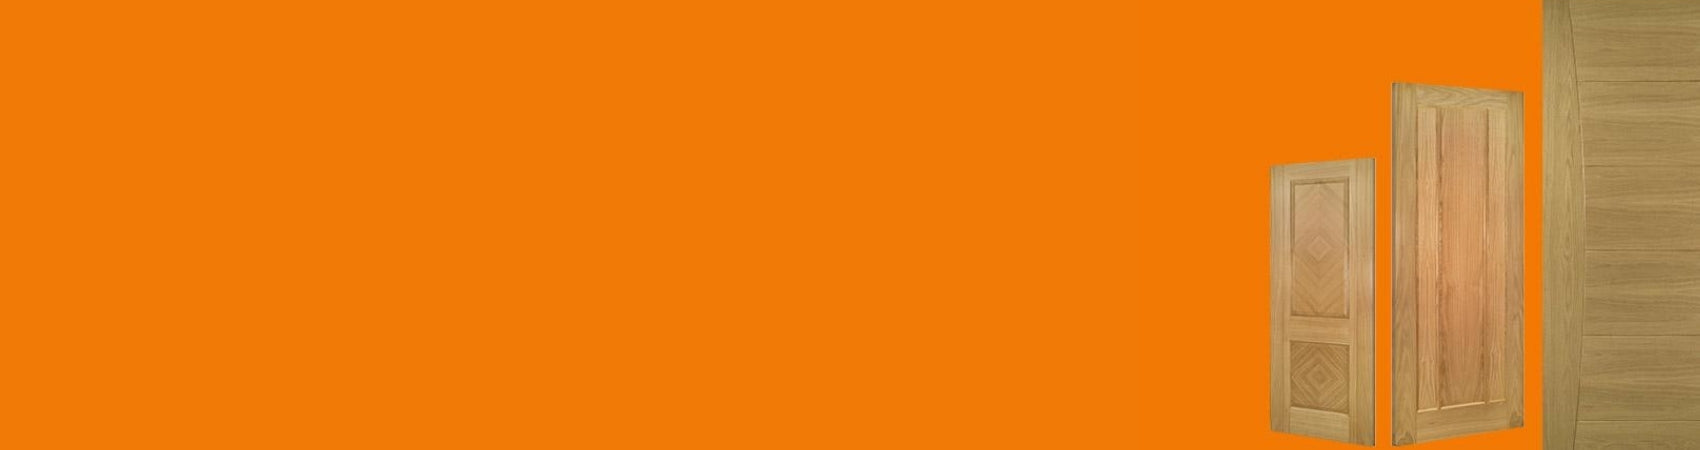
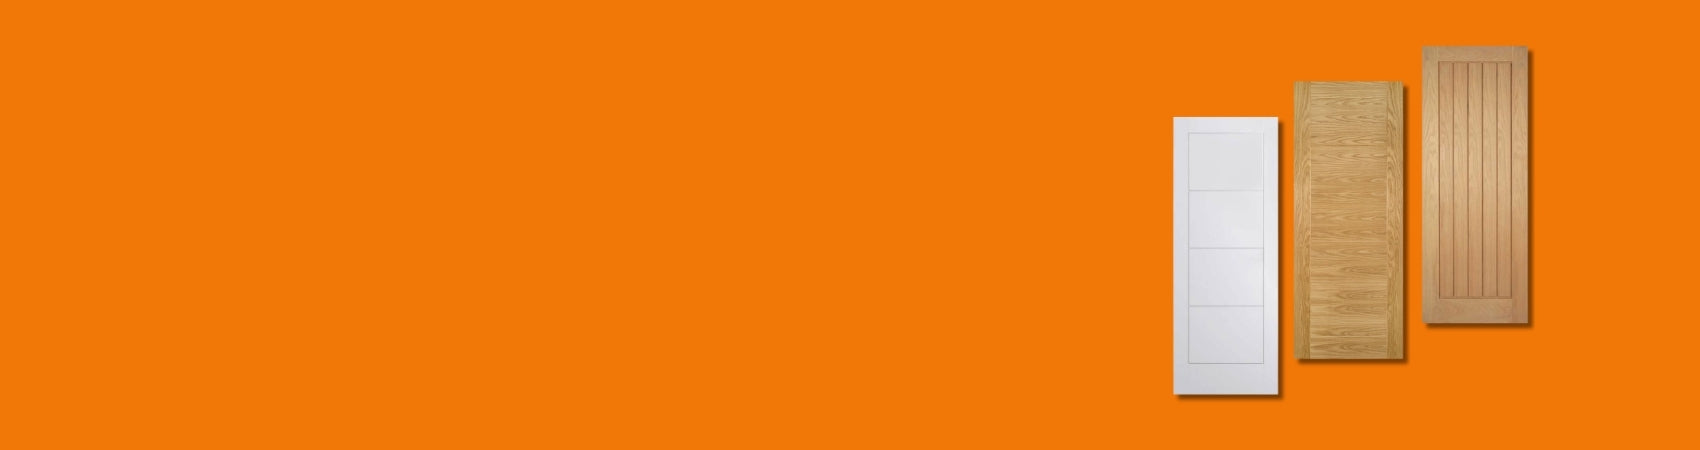
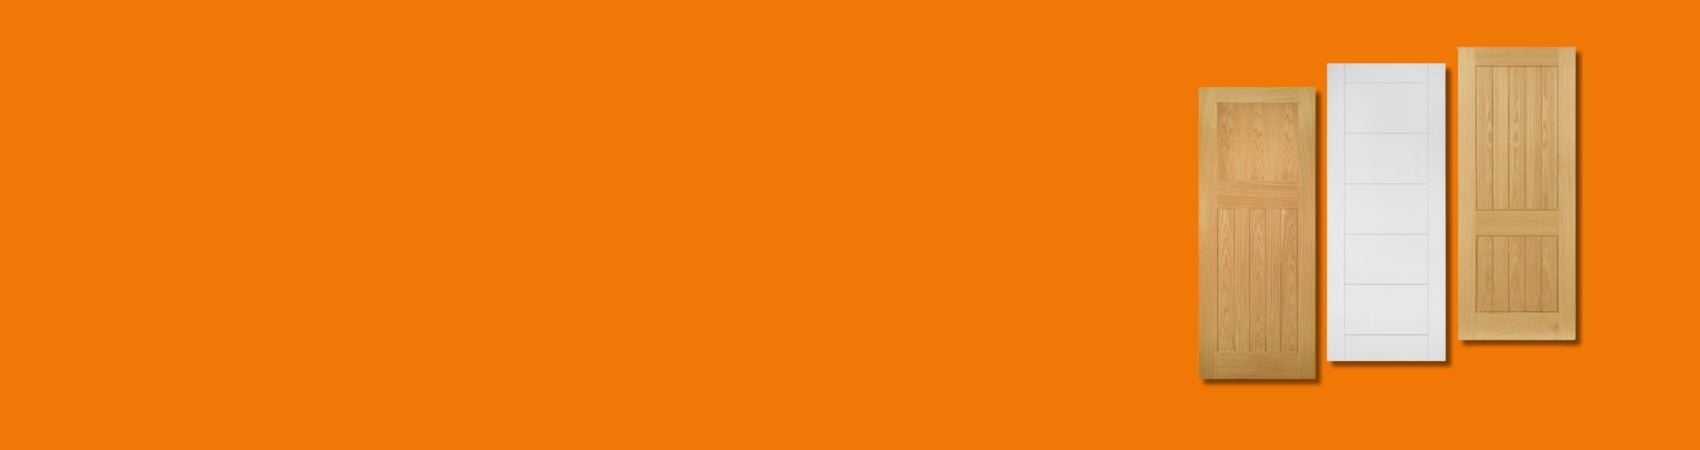
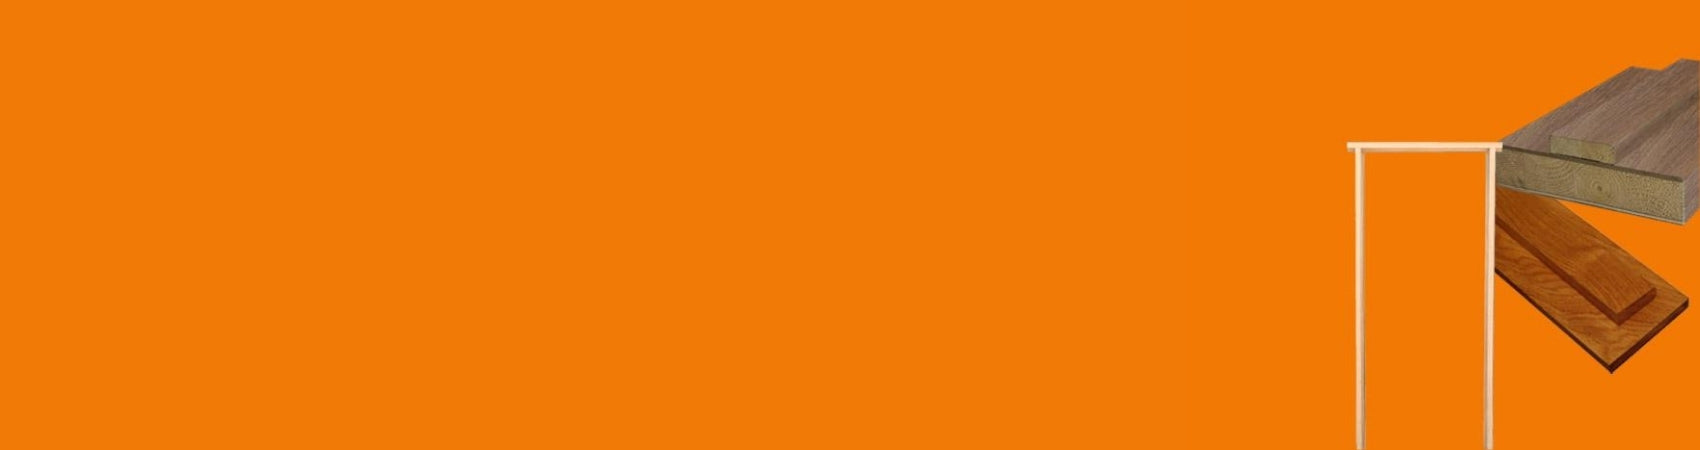
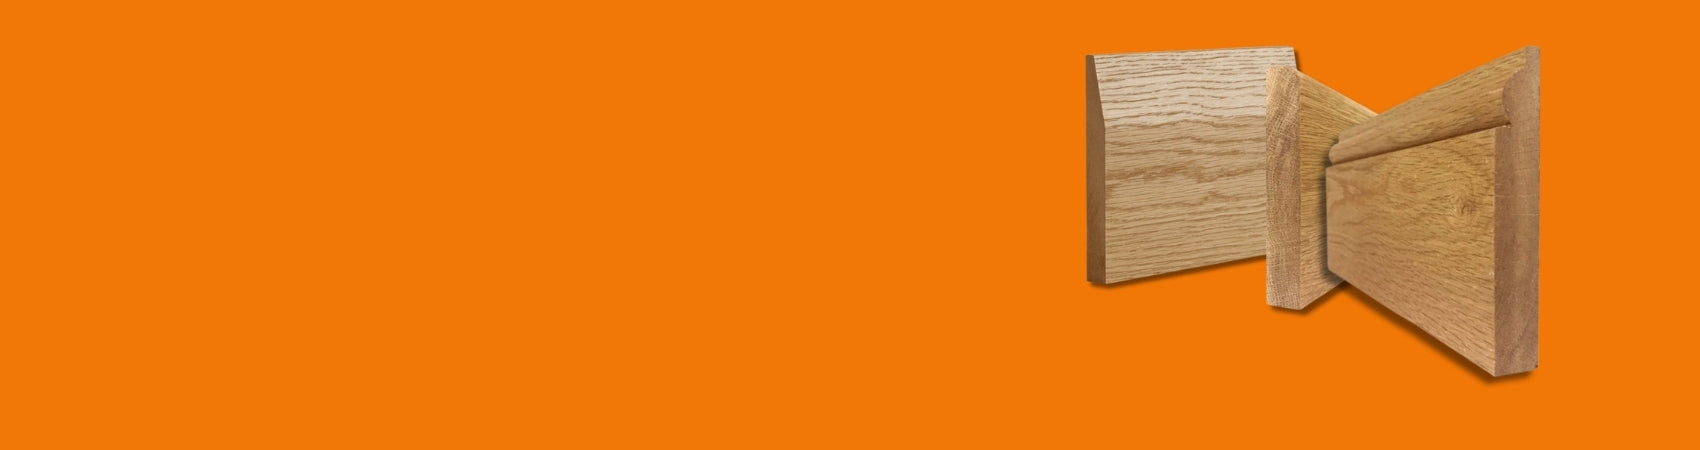
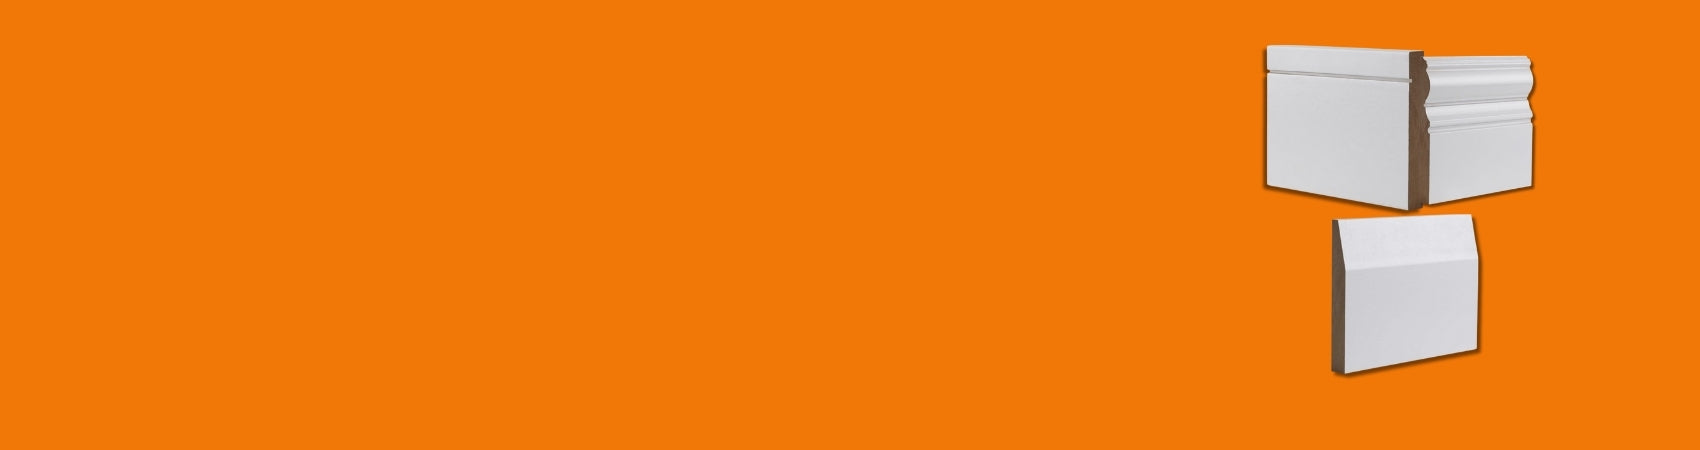
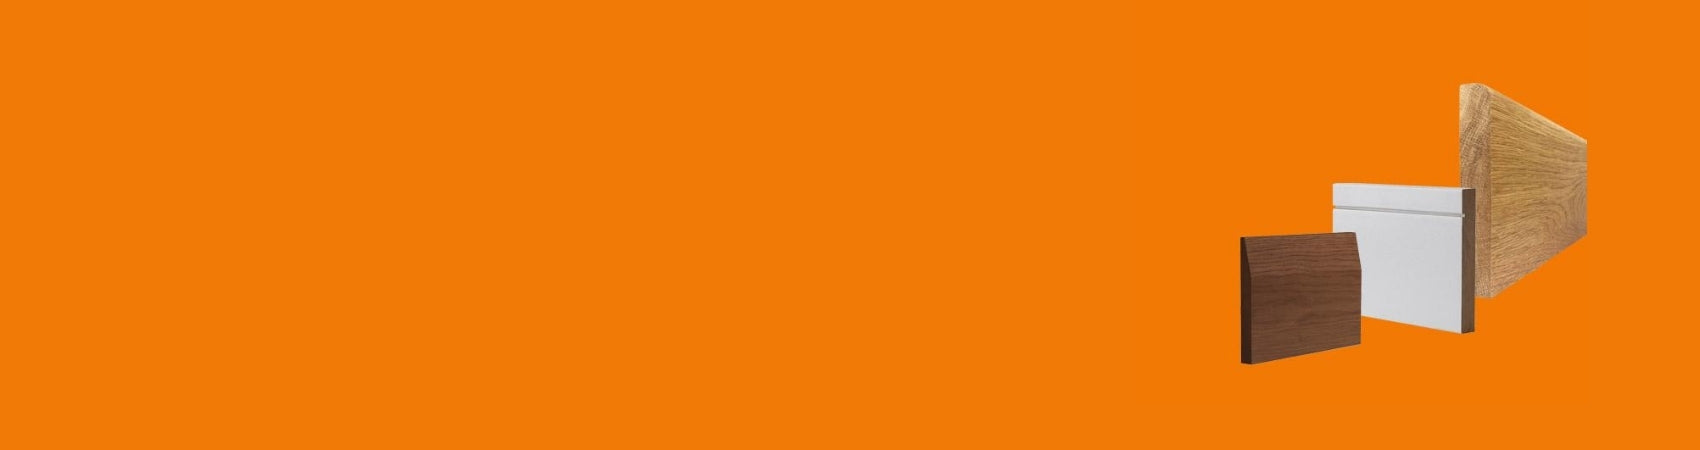
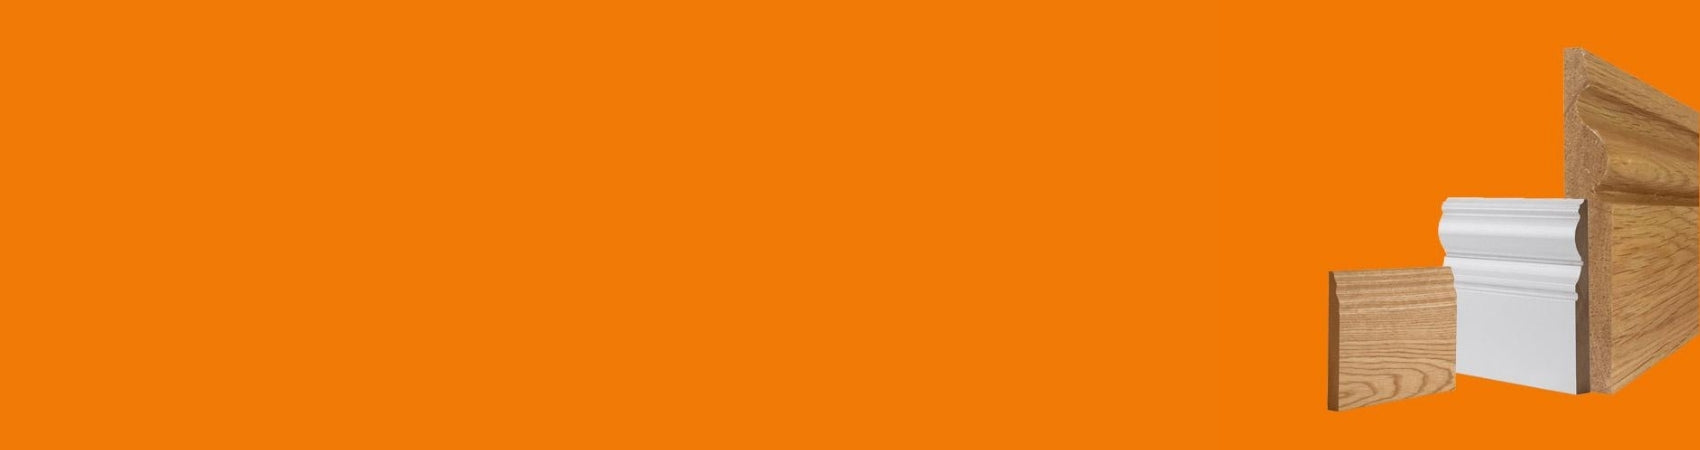
Architrave is made from various different materials. Softwood, MDF and solid oak are the most popular materials, and have an extensive range of styles and designs available so you have the option to choose which would best your style and interior.
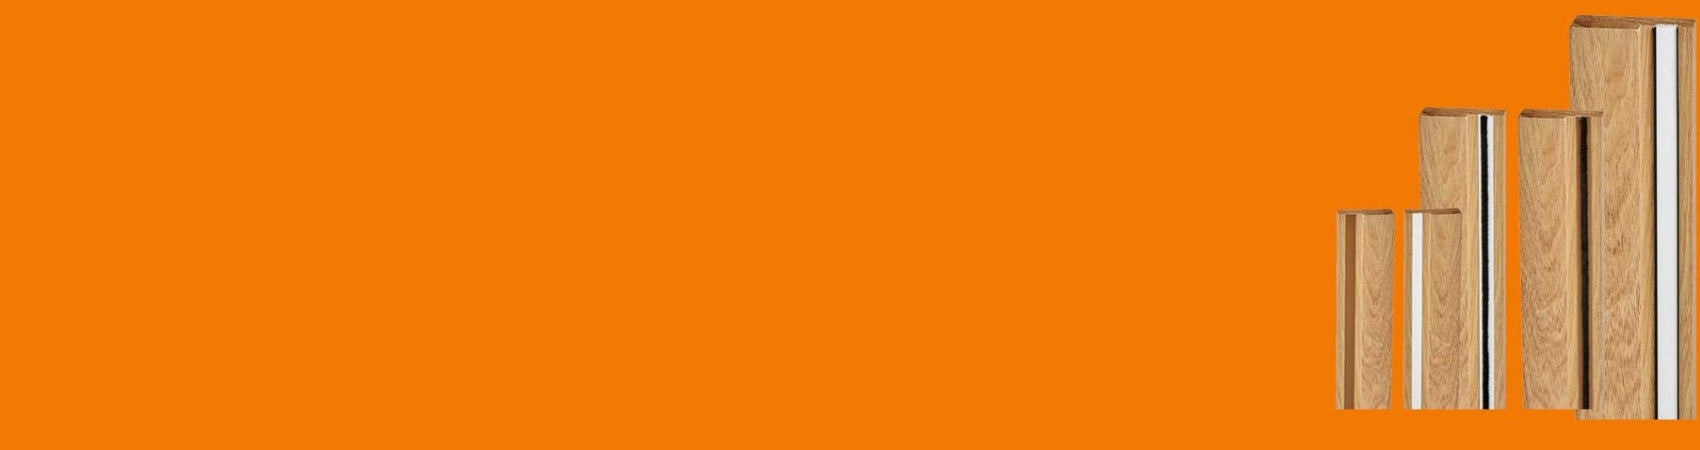
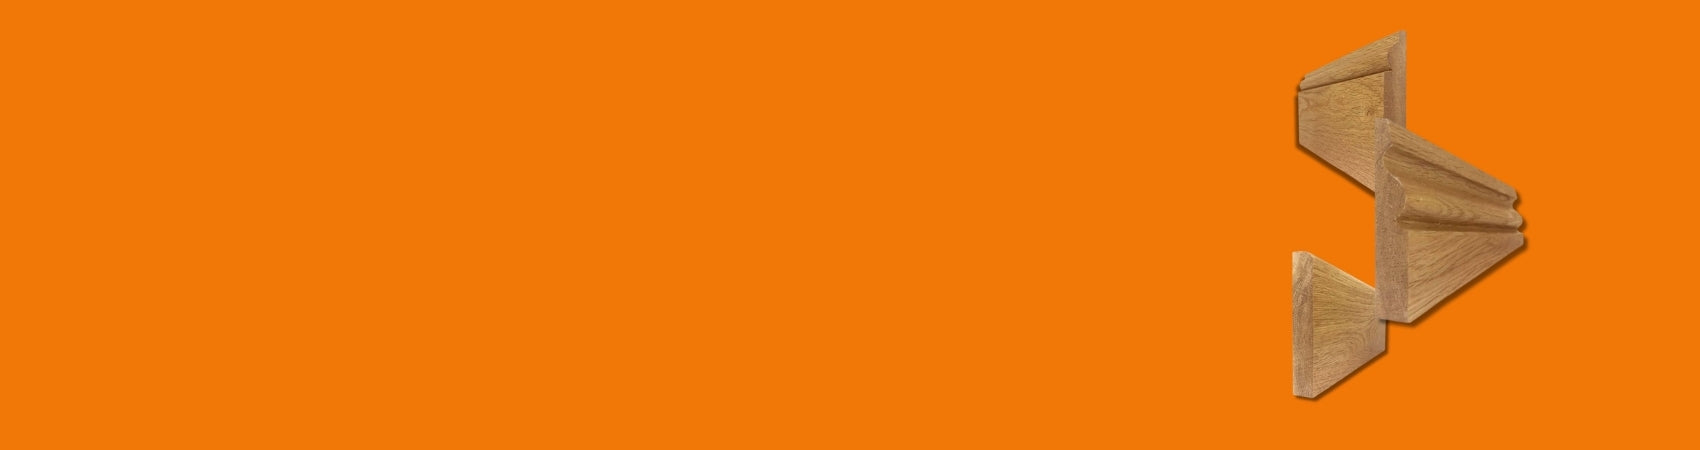
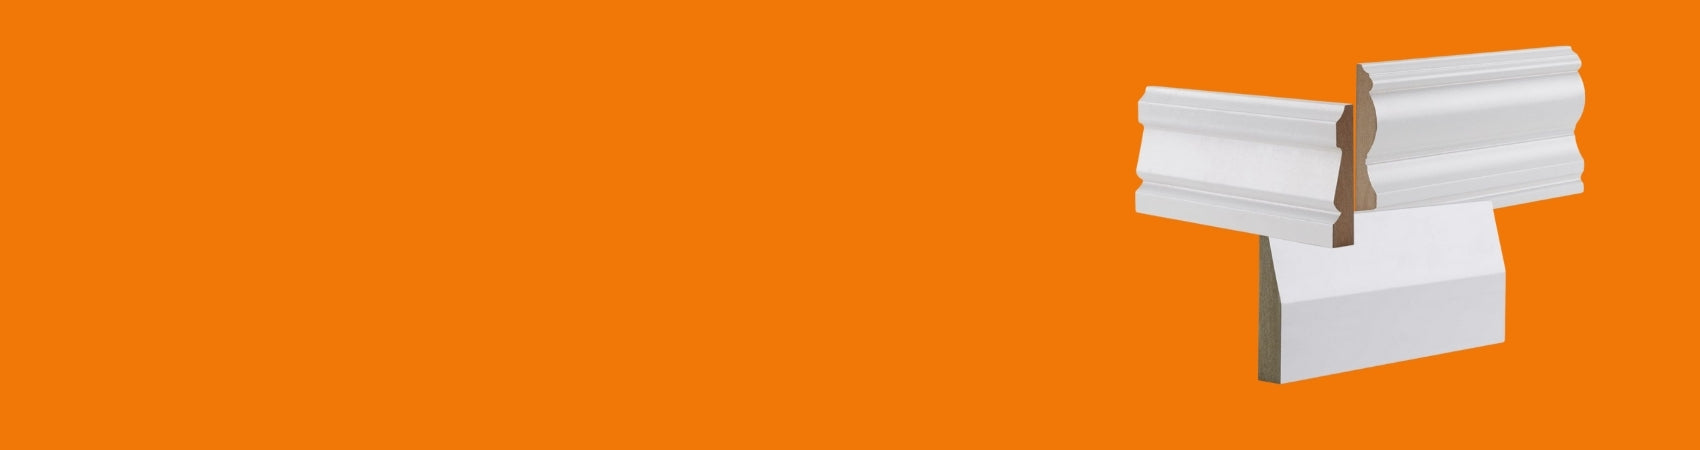
The Different Types of Architrave Profiles

Bullnose Architrave – A simplistic architrave for those looking to keep it sleek yet stylish
Chamfer Architrave – Another simplistic design which features a single angled face
Ogee Architrave – Ogee features a sweeping curved profile which is a popular style in homes
Torus Architrave – Torus provides a classic, but sleek and subtle style to any door frame
Shaker Architrave – Perfect for traditional and contemporary homes
Lambs Tongue Architrave – Lambs Tongue combines a traditional and minimalistic design
Ovolo Architrave – Ovolo features a simple curve that creates an overall smooth, stylish look
Square Edge Architrave – Square edge is a simple and cost effective design for all interiors
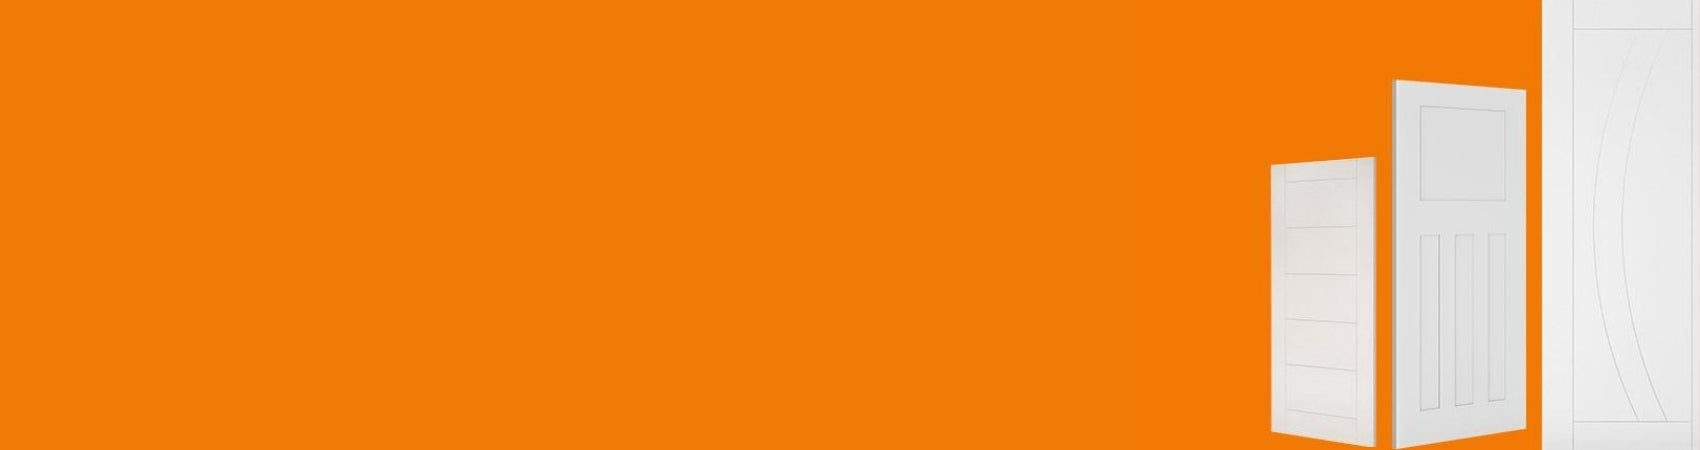
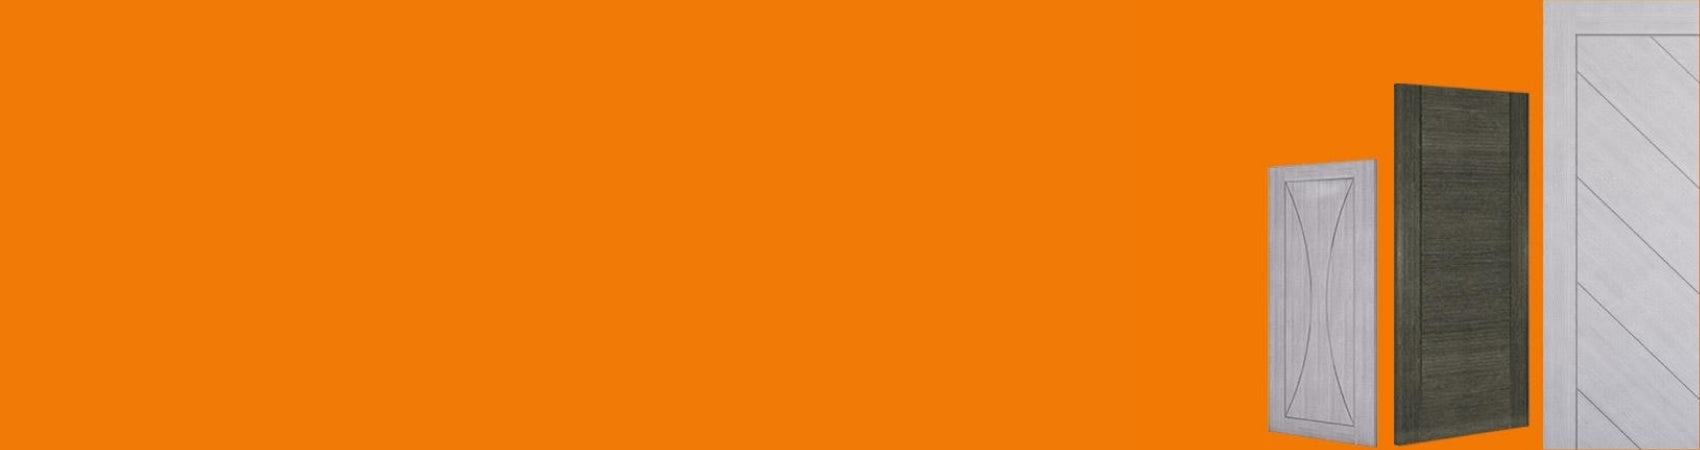
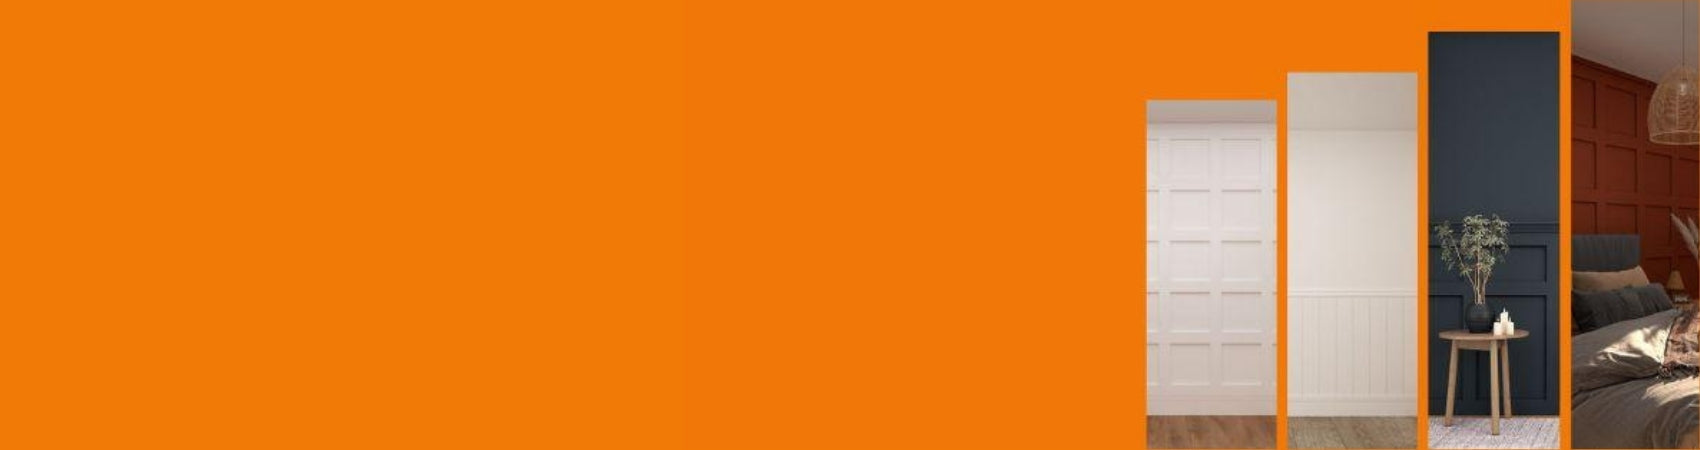
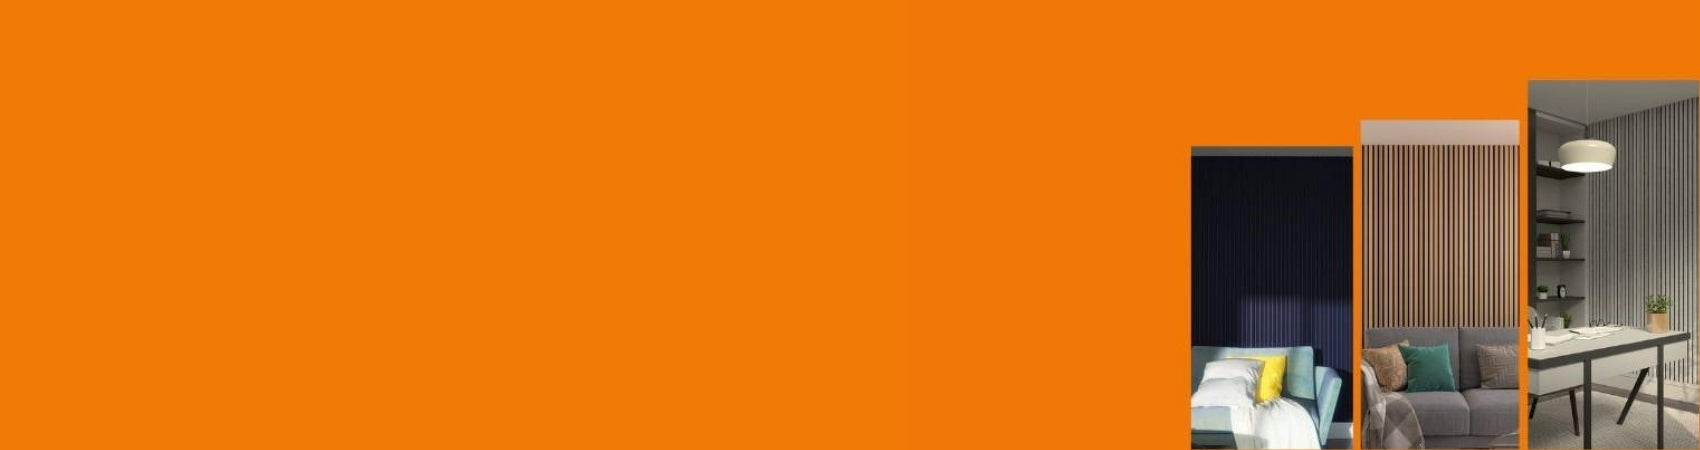
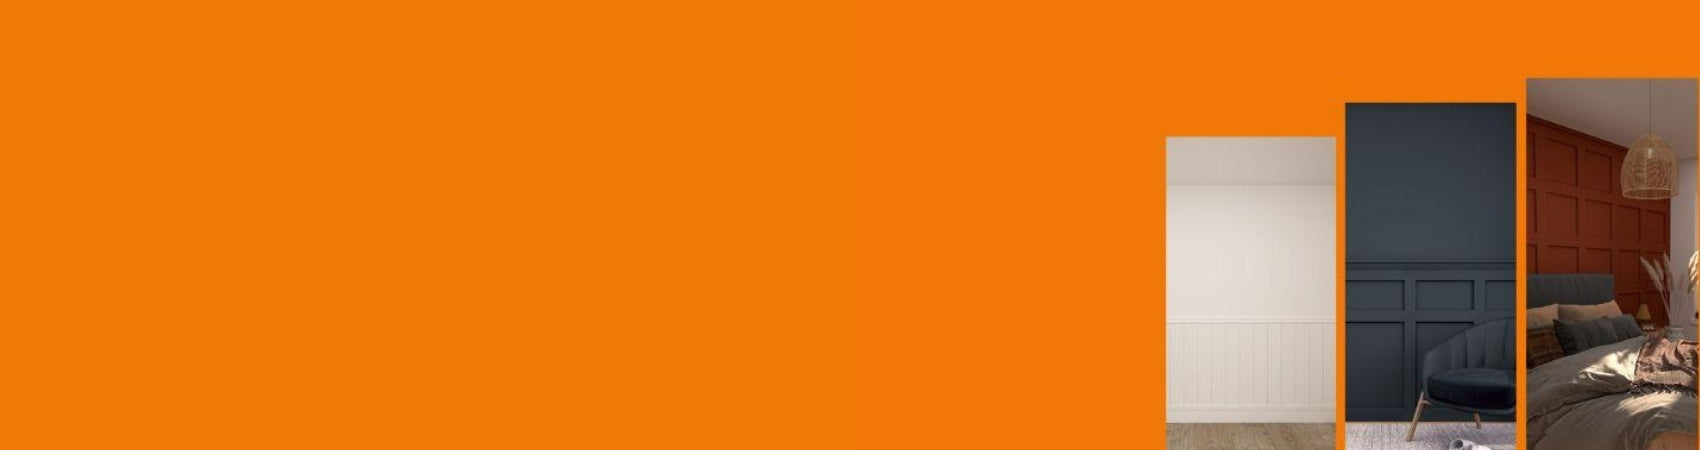
If you are not sure which style would best suit your interior, simply ask yourself – traditional or modern? You can easily browse our modern architrave range for inspiration if you are looking to upgrade your modern interior, or our traditional architrave selection for a traditional interior.
How To Fit Architrave?
If you’re in the process of replacing your old architrave, you’ll need to know how to fit your newly purchased door architrave, and most of all, how to fit it properly. Even if you are not a DIY-er, we’ve compiled a list of simple steps below to help guide you through the process. However, if this isn’t something you’re comfortable with or can perform, please contact a professional to fit architrave for you.
What You Need To Start With:
- A pencil
- A tape measure
- Hand saw / electric saw
- Spirit level
- Safety glasses
- Strong adhesive
- Nails
Step 1
The first step to installing architrave around your door, is to mark out where it is to be positioned. The moulding should be set back slightly away from the door frame, and remember that you need to be able to nail the architrave into the door lining. This is essentially called ‘breaking the edge’.
Use a ruler or tape measure, and with your pencil mark 4mm – 6mm in from the edge of the door lining. If you have a set square, use this to ensure the line runs parallel to the lining of the door. Mark out margins on the right, left and top of the door and be sure to join them at the corners – this is where the vertical and horizontal architrave will be joined.
Step 2
Using your tape measure, measure the line across the top of the door and mark the length onto the inner edge of your architrave. Be sure to leave enough room at either end.
Step 3
Use the saw to make the two 45 degree cuts. The cuts are in opposite directions so that the outer edge will be wider than the inner. Once you’ve made the cuts, lightly sand the cut ends down with sand paper until they are smooth.
Step 4
Take the strong adhesive and apply to the back of the architrave, be generous but not too much – follow the guidelines on the packaging. Slowly place the top piece into it’s top position along the 4mm – 6mm ling above the door. Make sure to check the marks on both sides of the frame to ensure the fit is right.
Step 5
To give the architrave more stability, you need to use nails and hammer four throughout the architrave and into the wooden door casing.
Step 6
Now that your top architrave piece has been fitted, you can now fit the two side architrave pieces. To do this, you need to measure from the top of the head piece to the bottom, and mark this distance onto the two pieces of architrave. Follow the same steps as you did with the top piece.
Notes

For the nails, after you’ve finished fitting all of the architrave pieces surrounding the door frame, you can fill and sand down the holes before painting – it will be like they never existed in the first place! Be sure to use safety glasses throughout the process, and other protective equipment if and when required. Mitre boxes and secure workbenches are ideal for when you are sawing the architrave pieces, as well as protective gloves when using adhesive and hammering nails. The method above is only a very brief guide to follow, if you require a more in depth guide please ask a professional for advice.
- Information is accurate at time of publishing, however, may be subject to change.