How to Change a Door Handle

Swapping out a door handle might seem like a small job, but it can change the feel of a room fast. Whether you're updating tired fittings or finishing off a new internal door, replacing a handle is a job most people can do in under an hour. There’s no need for specialist tools or experience.

If you’re buying your handles from Internal Doors, this guide will walk you through the process from start to finish.

What You’ll Need:

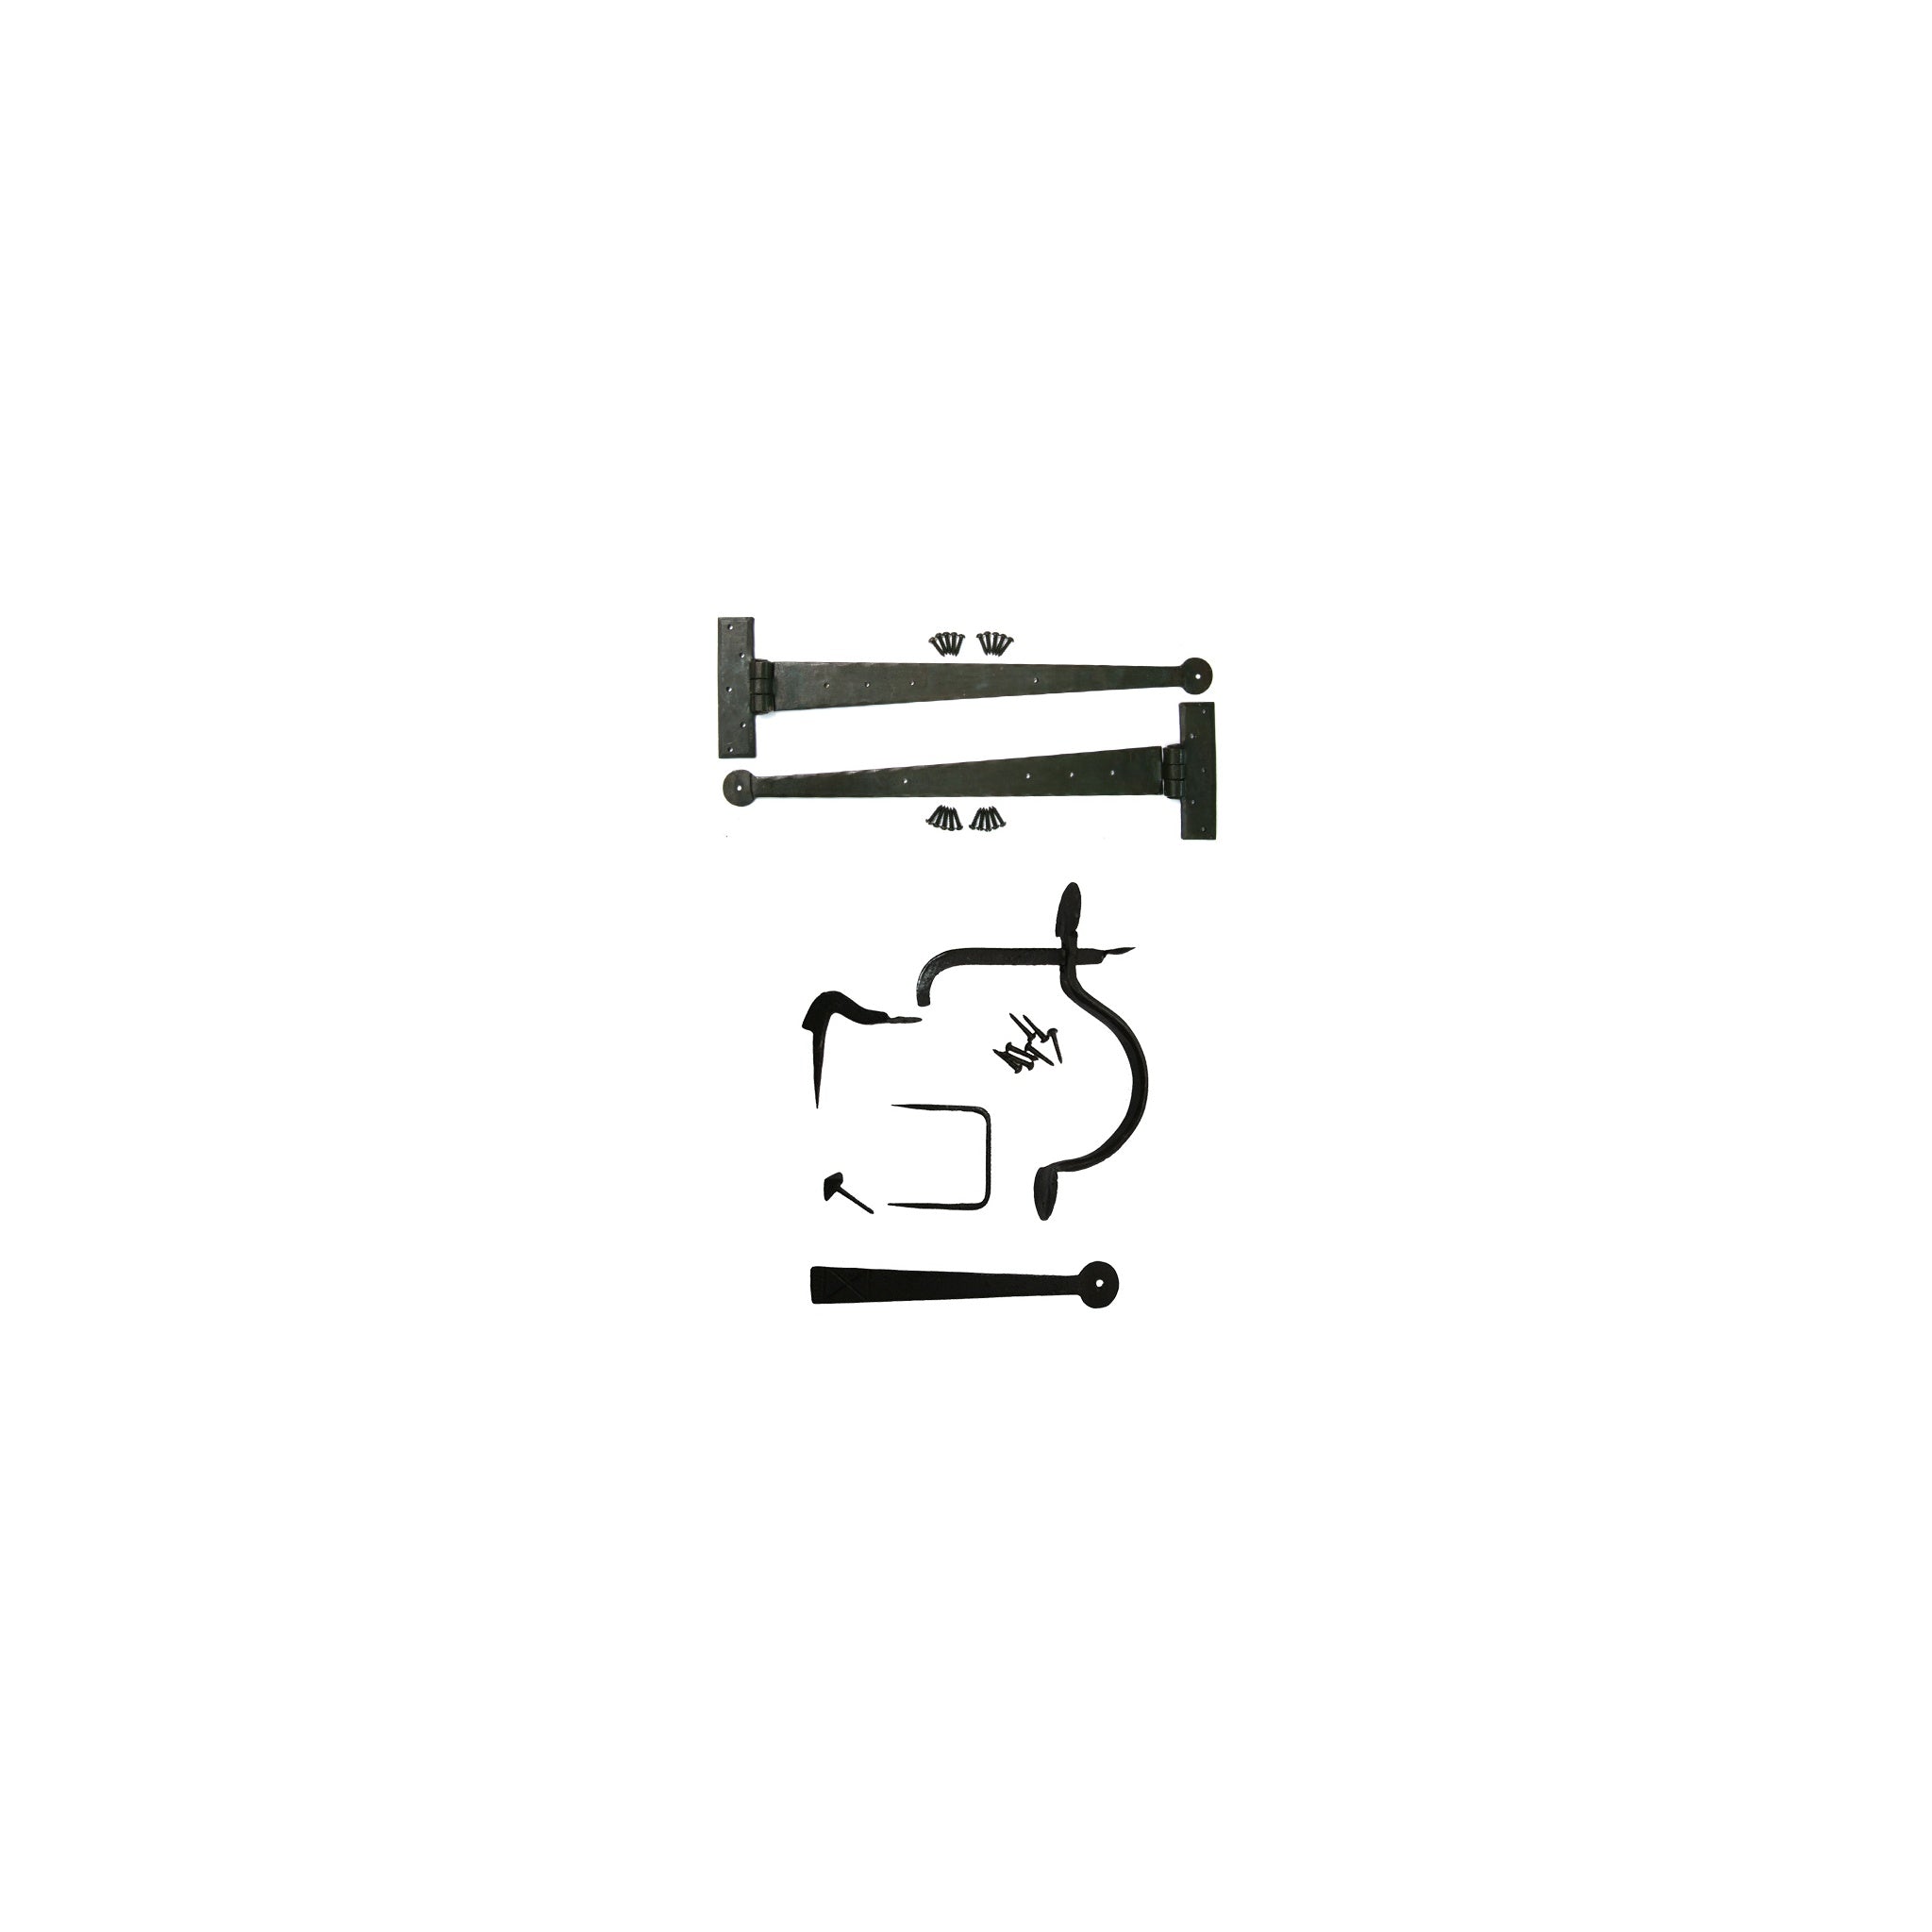
  • A new internal door handle set
  • Screwdriver
  • Tape measure
  • Pencil
  • Optional: chisel (if adjusting the latch or strike plate)

Step 1: Remove the Old Handle

Unscrew the handle from both sides of the door. With the screws out, you can pull the handles apart and slide out the spindle (the square bar that connects them).

Next, unscrew the latch plate on the edge of the door and take out the latch mechanism.

Step 2: Check the Door and Handle Fit

Before installing the new handle, measure the backset - the distance from the door’s edge to the centre of the handle hole. 

Most internal doors we sell are 35mm thick, which suits standard handles.

Step 3: Fit the Latch

Insert the latch into the hole on the edge of the door. The bevelled side should face the direction the door closes — this helps the latch glide smoothly into the strike plate.

Once it’s aligned, screw the latch plate into place.

Step 4: Fit the Handle

Push the spindle through the latch, then line up both handles on either side.

Screw them into place securely, but don’t overtighten.

Test the handle. It should turn freely, and the latch should retract smoothly. If it doesn’t line up with the strike plate on the frame, you may need to adjust the plate slightly using a chisel.

Choosing the Right Internal Door Handle

We offer door handles in a wide range of finishes to suit your internal door and property interior.

Our team is always here to help, or you can browse our buying guides for expert tips.


TO TOP