Key Takeaway Table
| Aspect | Details |
|---|---|
| Difficulty | Moderate to Advanced |
| Time Required | 1-2 hours for experienced DIYers, 2-3 hours for beginners |
| Tools Needed | Drill, chisel, masking tape, wedge, set square, hammer, 16mm long drill bit |
| Key Steps | 10 detailed steps from measuring to final installation |
| Caution | Only for confident DIYers; risk of door damage if done incorrectly |
Introduction
Fitting a mortice lock to an internal door is a task that requires precision, patience, and a certain level of DIY skill. While it might seem daunting at first, breaking down the process into manageable steps can make it achievable for confident DIYers. This guide will walk you through the entire process, from selecting the right lock to making the final adjustments.
Remember, the key to success lies in careful preparation and attention to detail. A well-fitted mortice lock not only enhances your door's functionality but also adds to its overall aesthetic appeal and security.
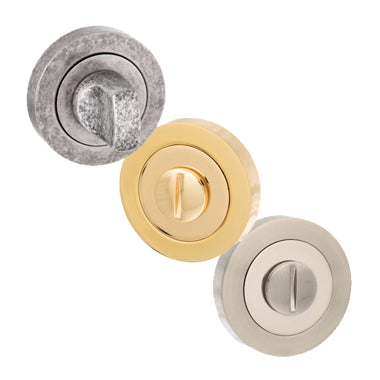
The Mortice Bathroom Lock - Essential for privacy

The Palermo Door Lever - Stylish handle option

The Satin Chrome 3" Butt Hinge Pair - For smooth door operation
What You'll Need
Before diving into the installation process, it's crucial to gather all the necessary tools and materials. Having everything at hand will make the job smoother and prevent interruptions. Here's a comprehensive list of what you'll need:
- Mortice lock
- Drill with 16mm long drill bit
- Chisel set (various sizes for precision work)
- Masking tape
- Door wedge or door stop
- Set square for accurate marking
- Hammer
- Sharp pencil
- Measuring tape
- Screwdriver set
- Sandpaper (for smoothing rough edges)
- Safety goggles and work gloves
Don't forget to bring your common sense and a strong cup of tea or coffee! DIY work can be thirsty business, and a clear head is essential for this precision task.

The Nickel Beehive Period Door Knob - Classic style

The 4" FD30 Rated Butt Hinge - For fire-rated doors

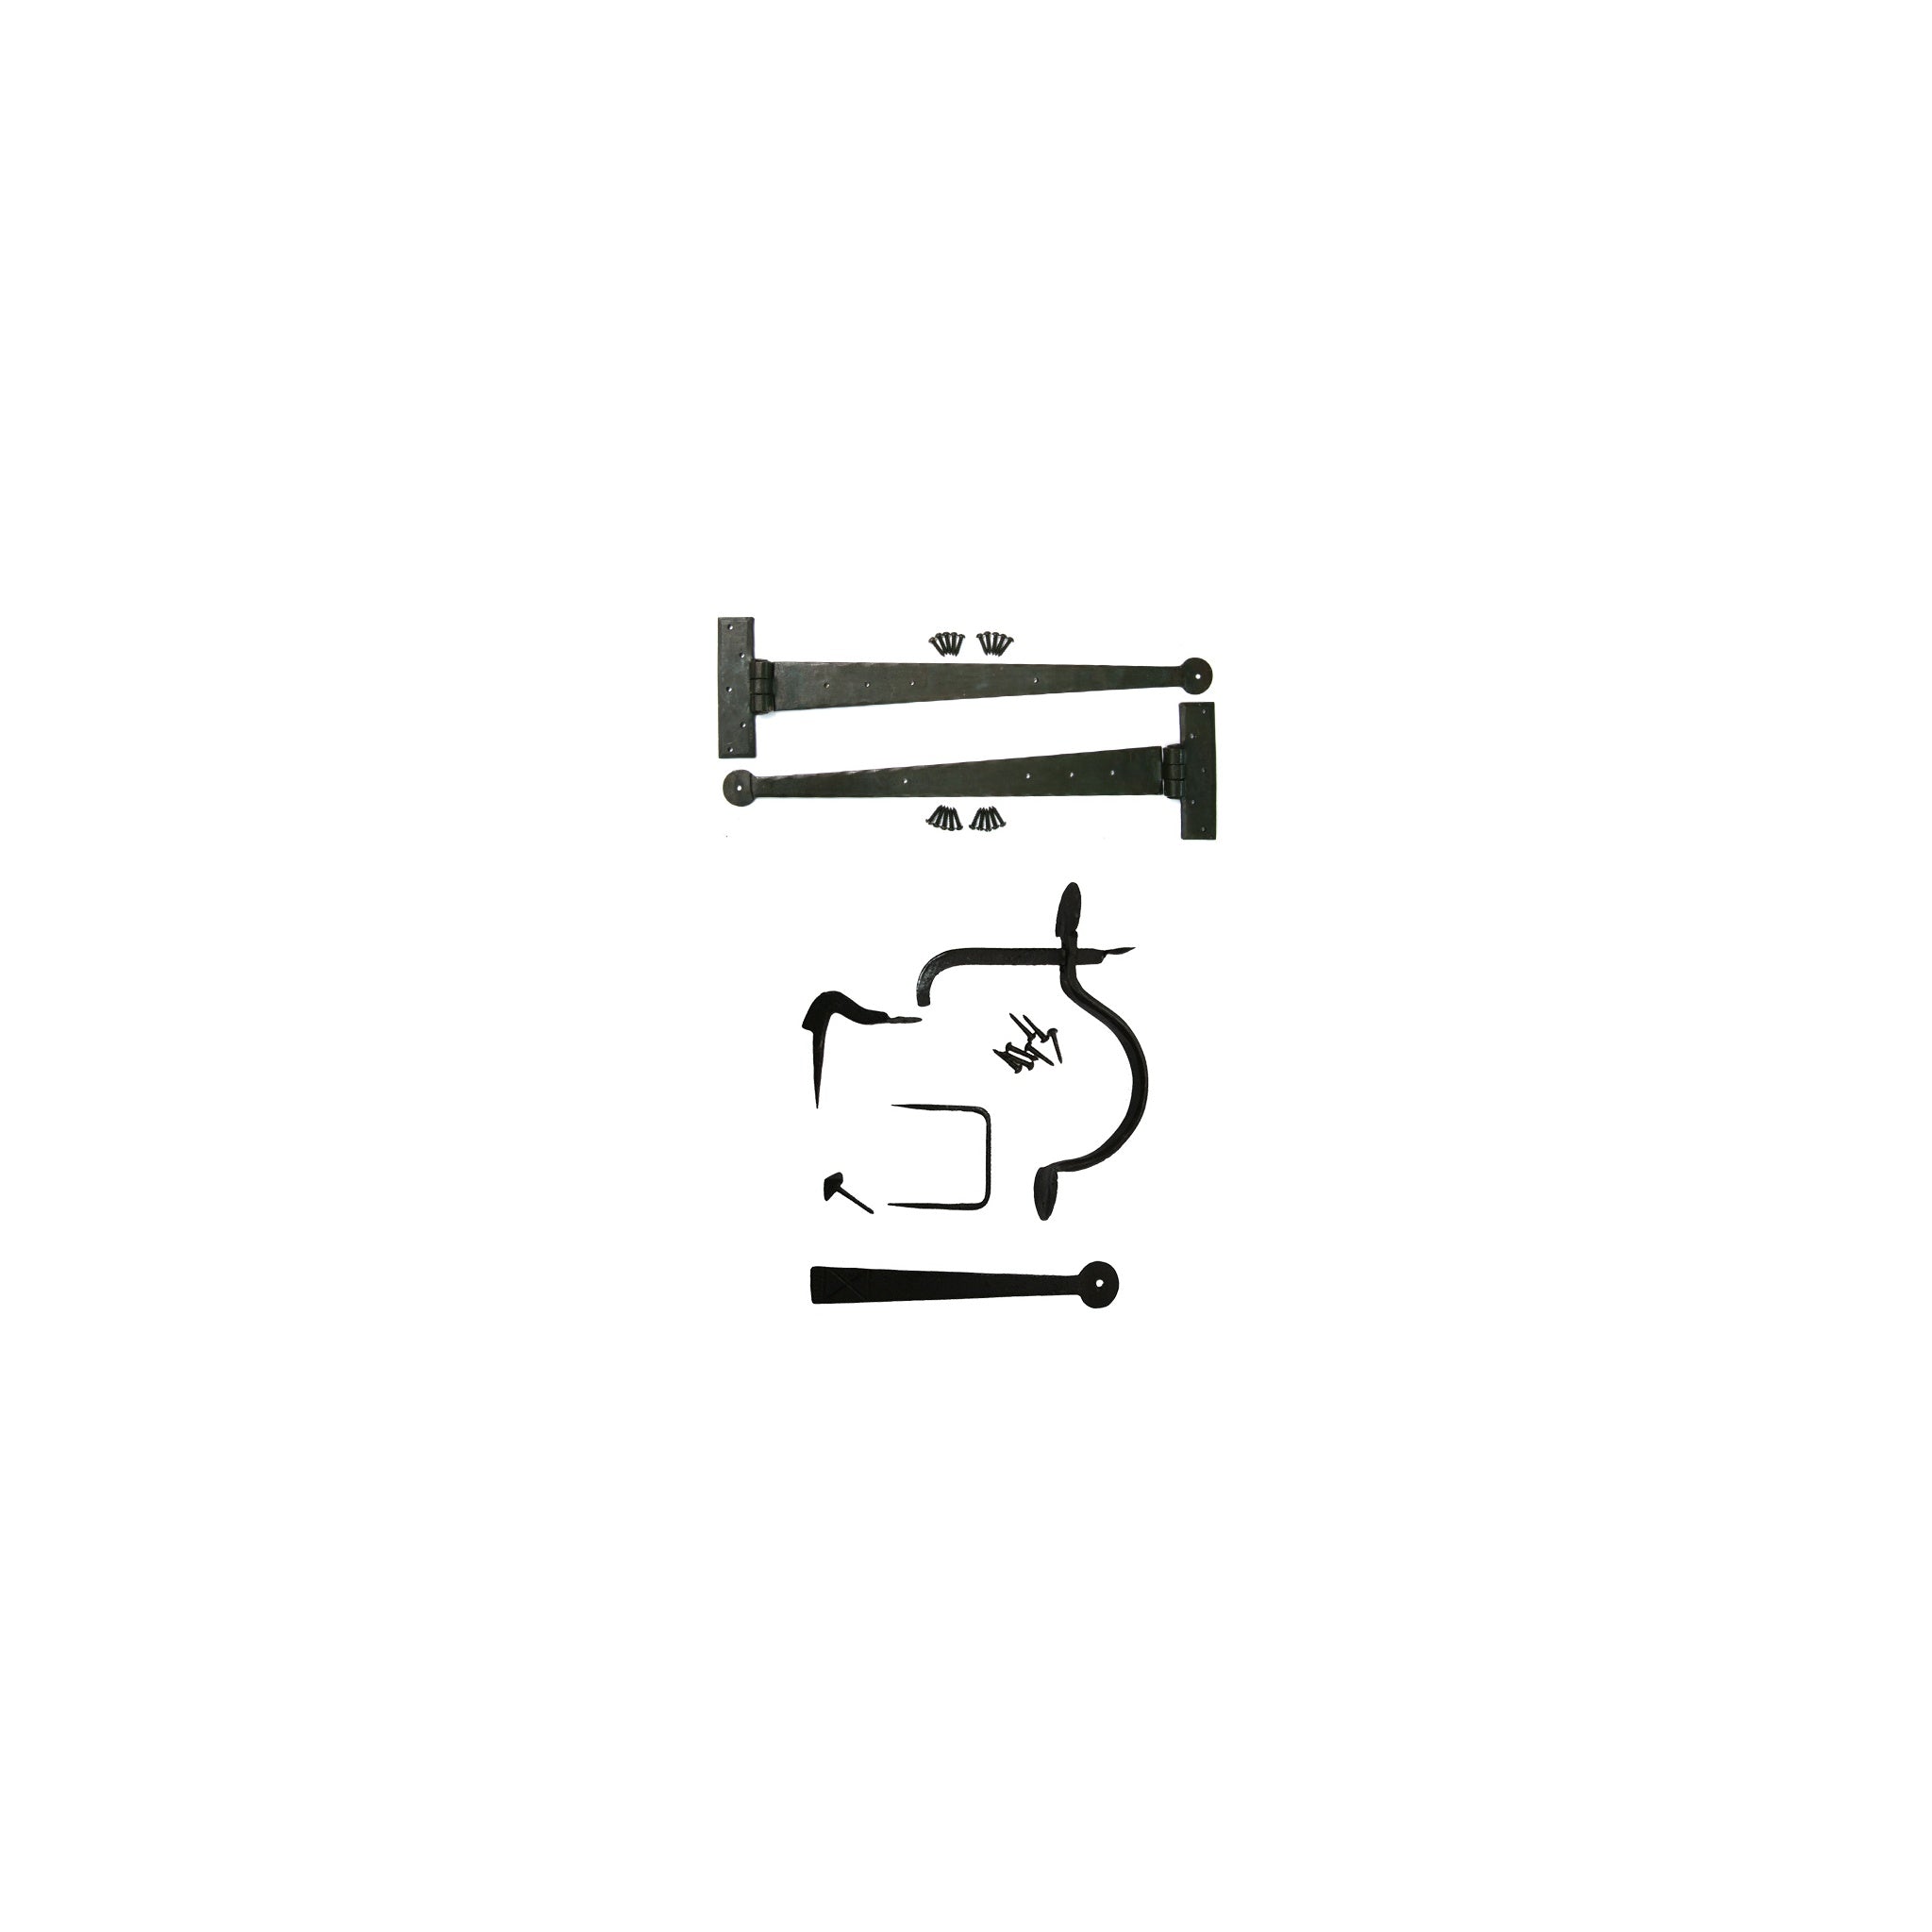
The 3" Heavy Duty Door Latch - Durable latch option
The Ten Steps to Fitting a Mortice Lock
1. Measure and Choose
Selecting the right lock is crucial for a successful installation. Take the time to:
- Carefully measure the door's thickness and edge
- Consider the door's material (solid wood, engineered, etc.)
- Choose a lock that matches your door's dimensions and style
Tip: If replacing an old lock, bring it to the hardware store for comparison. This ensures you get a lock with similar dimensions, making the installation process smoother.
2. Mark the Lock Position
Proper positioning of the lock is key to its functionality and appearance:
- For new installations, position about 1 meter from the floor for easy access
- For replacements, align with the old lock's faceplate to minimise additional woodwork
- Use a pencil to mark the top and bottom of the lock body, adding a few millimetres for adjustment
- Double-check measurements to ensure the lock is level and at the right height
3. Prepare for Drilling
Accurate preparation will make the drilling process smoother and more precise:
- Draw a clear, vertical guide line using a set square for accuracy
- Secure the door firmly to prevent movement during drilling
- Use masking tape along the drill line to prevent wood splintering
- Mark the drill depth on your bit with tape to avoid drilling too deep
4. Drill the Lock Slot
This step requires patience and a steady hand:
- Measure the lock body depth and mark your drill bit with tape for consistency
- Drill a series of holes along the vertical line, keeping the drill level
- Start with smaller pilot holes and gradually increase the size if needed
- Use a chisel to carefully remove wood between holes, creating a smooth slot
- Test fit the lock body frequently to ensure a snug but not tight fit
5. Mark the Faceplate
A well-fitted faceplate ensures the lock sits flush with the door edge:
- Place the lock body in the newly created slot
- Use a sharp pencil to precisely mark the edges of the faceplate
- Trace around the faceplate, ensuring your lines are clear and accurate
- Mark screw holes for later drilling
6. Create the Faceplate Recess
This step requires careful chiselling for a professional finish:
- Remove the lock body from the door
- Use a sharp chisel and hammer to create clean cuts around the faceplate outline
- Hold the chisel with the bevel facing the excavation area for better control
- Work slowly and carefully inside the pencil lines
- Gradually remove wood to create a recess that matches the faceplate thickness
- Test fit the faceplate frequently, aiming for a flush finish
7. Mark Keyhole and Handle Positions
Accurate marking ensures proper alignment of all lock components:
- Reinsert the lock body into the door
- Hold the lock against the door and mark positions for the keyhole and handle on both sides
- Use the lock or its template as a guide for precise marking
- Double-check measurements to ensure markings are level and aligned on both sides of the door
8. Drill Handle and Keyhole
Careful drilling is crucial to avoid damaging the door:
- Use a 16mm drill bit for the handle hole, or as specified by your lock manufacturer
- Drill slowly from both sides of the door to prevent wood splitting
- For the keyhole, drill two holes: a larger one on top for the key, and a smaller one below for the lock mechanism
- Sand the edges of the drilled holes to ensure smooth operation
9. Install the Lock
The moment of truth - fitting your lock into place:
- Carefully insert the lock into the prepared slot
- Tap gently with a hammer if needed, using a piece of wood to protect the lock
- Secure the lock with screws, ensuring they're tight but not over-tightened
- Attach screw cover plates for a neat finish
- Test the lock mechanism to ensure smooth operation
10. Prepare the Strike Plate
The strike plate on the door frame is crucial for proper lock function:
- For new frames, carefully chisel out space for the strike plate using the same techniques as the faceplate
- For replacements, inspect the existing strike plate and replace if necessary
- Ensure the strike plate aligns perfectly with the lock bolt
- Adjust the door frame or strike plate position if needed for smooth locking
Pros and Cons of DIY Lock Installation
| Pros | Cons |
|---|---|
| Cost-effective compared to professional installation | Risk of damaging the door if inexperienced |
| Satisfaction of completing a complex DIY task | Time-consuming, especially for novices |
| Customisable to your specific needs and preferences | Potential security risks if not installed correctly |
| Learn valuable DIY skills applicable to other projects | May void door warranty if not done properly |
| Flexibility to choose your own hardware and finish | Requires investment in tools if not already owned |
When to Call a Professional
While this guide provides detailed steps for DIY installation, there are situations where professional help is recommended:
- If you're unsure about your DIY skills or lack experience with precision woodworking
- When working with expensive, antique, or specially designed doors
- If the door is part of a fire safety system, which may require certified installation
- When local building regulations require professional installation for insurance or safety reasons
- If you encounter unexpected issues during the installation process
For expert advice or professional installation services, don't hesitate to call us at Internal Doors on 01455 566 566. Our experienced team can guide you through the process or provide professional installation services.
Maintenance Tips for Your New Mortice Lock
Once installed, proper maintenance ensures the longevity and smooth operation of your mortice lock:
- Regularly clean the lock mechanismwith a soft brush to remove dust and debris
- Lubricate moving parts annually with a suitable lock lubricant
- Check and tighten screws periodically to prevent loosening
- Avoid slamming the door to prevent misalignment of the lock and strike plate
- Address any stiffness or difficulties in operation promptly to prevent further issues

The Colorado Door Lever - Modern design

The Texas Door Lever Black Nickel Pack - Sleek black finish

The Tunis Door Lever Pack - Complete door handle set
Conclusion
Fitting a mortice lock is a challenging but rewarding DIY task. By following these steps carefully and taking your time, you can successfully install a lock on your internal door. Remember, patience and precision are key to achieving a professional-looking result.
Need help choosing the right mortice lock or door hardware for your DIY project? Our team at Internal Doors is here to assist with product selection. Call us on 01455 566 566 for expert advice and product recommendations.
Frequently Asked Questions
Q1: How long does it take to fit a mortice lock?
A: For an experienced DIYer, it typically takes 1-2 hours. Novices should allocate 2-3 hours or more to ensure careful work.
Q2: Can I fit a mortice lock to any internal door?
A: Most internal doors can accommodate a mortice lock, but it's important to check door thickness and construction first. Some hollow-core doors may not be suitable.
Q3: Do I need special tools to fit a mortice lock?
A: While standard DIY tools can suffice, a mortice lock installation kit can make the job easier and more precise. Consider investing in one for the best results.
Q4: Is it cheaper to fit a mortice lock myself or hire a professional?
A: DIY installation is usually cheaper, but consider the value of your time and the risk of mistakes. For complex installations or valuable doors, professional fitting might be more cost-effective in the long run.
Q5: How do I know if my new lock is secure?
A: Test the lock thoroughly after installation, checking for smooth operation and secure locking. If in doubt, consult a professional locksmith for advice.
For more information on choosing the right mortice locks or door hardware for your DIY project, call us at Internal Doors on 01455 566 566. We're here to help you find the perfect products for your door security and functionality needs!


